Showing posts with label recipe. Show all posts

Tuesday, February 16, 2016

Banana Cream Pie

When was the last time you made a banana cream pie?  For most of you....the answer may be never.  But if you like bananas.....this pie is pretty much the bomb.  And the best part....is that it is super easy to make. One pan, one pre-made pie crust....It can't get any easier.
The original recipe comes from A Taste of Home but as I went along, I made a few changes.

Ingredients:
1 cup sugar
1/4 cup cornstarch
1/2 teaspoon salt
3 cups milk

2 large eggs, lightly beaten
3 tablespoons butter
1-1/2 teaspoons vanilla extract

1 pastry shell (9 inches), baked
4 large firm bananas
1 cup heavy whipping cream, 1tbsp of sugar and 1tsp of vanilla - whipped

Bake pie crust as directed.  In a large saucepan, combine sugar, cornstarch, salt and milk.  Cook and stir over medium-high heat until thickened and bubbly. Reduce heat; cook and stir 2 minutes longer. Remove from heat. 

Stir a small amount of hot filling into beaten eggs; return all to the hot liquid. Bring to a gentle boil; cook and stir 2 minutes longer. Remove from heat. 

Gently stir in butter and vanilla. Press plastic wrap onto surface of
custard; refrigerate, covered, 30 minutes.

Slice 2 bananas and spread over bottom of the baked pie crust.  Spread half of the custard into pastry shell. Slice 2 bananas and arrange over filling. Pour remaining custard over bananas. Spread with whipped cream.

Refrigerate 6 hours or overnight.  Well, we ate this after 3 hours and it was awesome!

It's one saucepan and a baked pie crust.  Try it.    

Enjoy!

Paula


Wednesday, February 3, 2016

Pesto Pasta with Sausage and Roasted Brussel Sprouts

Ok, here is another simple pasta dish that is so good.....and super easy to make!

Take a bag of brussel sprouts, rinse, cut in half and toss lightly with olive oil and sea salt.  Place on a pan and roast at 400 for about 25 min.  Stir occasionally so they don't burn.  While they are roasting, make your pasta.

While your pasta is cooking, in a large pan saute your favorite sausage.  Drain the grease.  When done, add your pasta and 3/4 cup of pesto to your sausage.  I bought this jar at Costco.  I have learned to keep a jar of pesto on hand because it can make a meal real quick when you are tired and don't really want to make dinner.
Mix it all together and then add your brussel sprouts.  (I always reserve a little bit of pasta water when cooking these dishes to add in case the mixture is a little too sticky.)  
Serve this with some grated pecorino romano cheese,  a side salad and you are ready to go.  

This turned out to be so good.  My husband actually said it might be one of his favorite pasta dishes! See, dinner doesn't have to be difficult.  Pasta, sausage, pesto, brussel sprouts.....you are good to go!

Happy hump day!

Paula


Wednesday, January 13, 2016

Falafel - Give It A Try

I am trying to find some new dishes to make these days.  I get on a roll with exciting and fun dinners and then I seem to fall into the pattern of same old same old.  Does that happen to you?  So with my creative new year endeavors, I have decided to try Falafel!  It's basically chick peas in a food processor and then lightly fried.  Oh gosh...I said the "fried" word.  Stop it.  It's lightly fried and has to be good for you.  I have seen falafel but have never tried making it.  I want to blog about it today so it will force me to make it this week.  What do you think?  
One of my new favorite sites for food is Gimme Some Oven.  She has some great ideas and this is one of them.

Look at this food processor full of fresh ingredients; chic peas, cilantro, garlic and herbs.  Doesn't it look yummy?
Check out the recipe on the link above or follow below.  
INGREDIENTS:
6 cloves garlic, peeled
1 (15-ounce) can chickpeas (a.k.a. garbanzo beans), rinsed and drained
1 1/2 cups fresh parsley leaves, tightly-packed
1 cup fresh cilantro leaves, tightly-packed
1/2 cup diced white or red onion
1/3 cup white whole wheat flour (or all-purpose flour)
1 tablespoon fresh lemon juice
1 1/2 teaspoons baking powder
1 1/2 teaspoons salt
1 1/2 teaspoons ground cumin
1/2 teaspoon black pepper
4-5 tablespoons grapeseed oil (or another high-heat oil, such as canola or vegetable)
for serving: pita bread, chopped Romaine lettuce, thinly-sliced red onions, diced tomatoes, tzatziki sauce and/or hummus

DIRECTIONS:
(Note: This recipe requires 10 minutes prep time, plus 1-2 hours time to chill the falafel before cooking.)

Add garlic, chickpeas, cilantro, parsley, onion, flour, lemon juice, baking powder, salt, cumin and black pepper to a food processor.  Pulse until smooth and evenly mixed, stopping partway through to scrape down the sides of the bowl if needed.  Transfer mixture to a bowl and cover with plastic wrap, so that the plastic is directly touching the top of the mixture (so that no air can enter.  Refrigerate for 1-2 hours or until chilled.
Lay a large sheet of parchment paper out on a work surface.  Remove the bowl with the chilled falafel mixture.  Then measure out 2 tablespoons of the mixture, and roll the mixture into a ball with your hands.  Place the ball on the parchment paper, and gently flatten the ball slightly with your hand so that it is a little under 1/2-inch thick thick.  Repeat with the remaining mixture until all of the falafel disks are prepared.
Heat oil in a large cast-iron or heavy-bottomed skillet over medium-high heat until it is shimmering.  (If you add a drop of water to the oil, it should sizzle.)  Carefully transfer 4 or 5 falafel disks to the hot oil and fry for 2-3 minutes per side, or until both sides of the disk are browned.  Transfer to a paper-towel lined plate.  Then repeat with the remaining falafel disks, adding extra oil to the pan if need be.
When all of the falafels are cooked, remove the pan from the heat.  Then serve the falafel warm however you'd like.  (You can eat the falafels plain, served with hummus or tzatziki, in a salad, in a gyro, or in a simple pita sandwich as pictured above.  To make the pita sandwich, fill half a pita with chopped lettuce, red onions, diced tomatoes, a few falafel, and then top with tzatziki sauceor hummus.)

Have a great week!

Paula


Wednesday, November 18, 2015

Rustic Apple Tart


Come on.......how about we make this tonight?  I'm all over these simple one pie crust galatte's.  Dump it in, bake it and eat!  Yes!  This one, won't disappoint.  This recipe comes from Foodie Crush. Check it out and have some serious YUM tonight.

Happy Thursday!

Paula


Thursday, November 12, 2015

Rustic Chicken and Gravy

I am a sucker for home cooked meals.  Especially meals that include chicken, gravy, garlic and then....pasta!  I mean, what is not to love?

I was on Pinterest last night wondering what to do with my chicken thighs (Costco sells them by the barrel.  Well not the barrel but I feel like I have them in my freezer forever after I buy them).

This came from a great website called Seasons and Suppers.  Check out some of her dishes.  YUM!  I didn't put my chicken in the oven like the recipe called for.  I actually browned everything on top of the stove in one pan.  It came out just as yummy.

What are you cooking tonight?  This won't disappoint.

Paula


Thursday, October 15, 2015

Pumpkin Pecan Cobbler


Are you kidding me??    If you like pumpkin pie, cinnamon sugar and warm cobbler.....ok, even if you don't like cobbler, you will like this.  This is a hot gooey, yummy pumpkin, cinnamony ( I know, not a real word).... dessert for fall and winter.  And guess what ? .....it is super easy!  Look at the recipe.  Two bowls, no mixer, one pan, bake!

Have that vanilla ice cream in the freezer and your family will be thanking you.  You will be thanking yourself!  This came from a great little blog called Lauren's Latest. And trust me when I tell you it won't disappoint.

PUMPKIN PECAN COBBLER

Yield: 8 servings  Prep Time: 10 minutes  Cook Time: 40 minutes  Total Time: 50 minutes 

INGREDIENTS:

1 cup + 3 tablespoons all purpose flour
2 teaspoons baking powder
1/2 teaspoon salt
3/4 cup granulated sugar
1 teaspoon cinnamon
1/2 teaspoon nutmeg
1/2 teaspoon cloves
1/2 cup pumpkin puree
1/4 cup milk
1/4 cup melted butter or vegetable oil
1 1/2 teaspoons vanilla
topping:
1/2 cup granulated sugar
1/2 cup brown sugar
1/4 cup chopped pecans
1 1/2 cups very hot water

DIRECTIONS:

Preheat oven to 350 degrees.
In a medium sized bowl, stir together flour, baking powder, salt, sugar and spices. Set aside.
In a smaller bowl, stir pumpkin, milk, melted butter and vanilla together to combine. Pour wet ingredients into dry ingredients and mix to create a thick batter. Pour into a small 8-inch casserole dish with high sides. 
In a separate bowl, stir sugar, brown sugar and pecans together. Spread over the top of the batter evenly. Pour hot water over the entire thing {WITHOUT STIRRING A THING!} and bake for 40 minutes or once the middle is set. {Be sure to place on a baking sheet incase it bubbles over.} Cool 5-10 minutes before serving. Serve with more pecans and vanilla ice cream.

Enjoy! 

Paula


Tuesday, September 22, 2015

Apple Slab - A Fall Must

I posted this last year but after making it this weekend for friends, I thought I'd share it again.  Go get some Granny Smith apples and vanilla ice cream.... Happy fall!

Apple Slab - is so much better than apple pie!  Apple Slab is a home run. It has the same ingredients as apple pie, but it's more of a bar or slab with apple glaze.  It's gooey and moist and it makes a lot. You can take this to a luncheon, cookout, dinner, holiday party or just make it because your family is crying for a good homemade dessert.  And the best part.....it is easy!
Take 5 or 6 large granny smith apples.  Peel and slice thin. You want the apples to bake down when cooking.

Put your apple slices in a large bowl.  Combine 1 1/2 cups of sugar, 2 tsp of cinnamon, 6 TBSP of corn starch and pour this over your apples.  Squeeze the juice of 1 lemon over this mixture and toss.

Let your apples sit for a little bit so the juice begins to fall to the bottom. Grease a long flat baking pan.  I use a 17x11 pan or a jelly roll pan.

Take two of your pre-made pie crusts. This is where we short-step the time it takes to make homemade pie crusts. Look, those of you that are true bakers and have time to roll out your crust and get flour everywhere - go ahead and get happy.  I've made it both ways and no one in my house, friends included,  can tell it's not a homemade crust when I use the Pillsbury crusts :).   Grease your pan and place the pie crusts so that they fit.  You might have to do some cutting and pasting....that's fine.
 Dump in your apple mixture, but don't pour out the juice!
You should have about 1/2 cup of juice....or a little more leftover in your bowl.
Put the two other crust pieces on top and pop this into the oven for 35 minutes at 350 degrees.
Then cover your slab with foil and bake for another 15-20 minutes.  You don't want the top to get too brown. Take out and let cool.

Once this has cooled down but still warm, add 1 1/2 cups of confectioners sugar, 1tsp of melted butter to the leftover apple juice in your bowl.  If it's too thick, add a little milk.  Pour the apple glaze over the slab.


YUM!!!

Here is a recap of what you will need:

Filling:
5-6 large granny apple smith apples
1 1/2 cups of sugar
2tsp of cinnamon
Juice of a fresh lemon
6 tbsp of corn starch

Apple Glaze
Juice left over from the apple and cinnamon mixture
1 1/2 cups of confectioners sugar
1 tsp of butter

Crust
Two boxes of Pillsbury Pie Crusts (four pie rolls)

So good warm, cold and yes, even with a scoop of vanilla ice cream.

Enjoy!

Have a great weekend and remember to be kind.

Paula


Thursday, September 10, 2015

Sweet Potato Cake with Cream Cheese Icing

Are we ready for fall yet?  I know I am and with that comes sweet potato things!  I saw this recipe last night on Pinterest and thought...yup, I'm making this.  This is a super easy recipe found on Farm Flavor.  Whenever you can make something with a sheet cake pan, you know it's easy.  

Doesn't the picture make you want to make and bake this today?   

Fall can't get here soon enough.

Have a great day!

Paula


Thursday, August 27, 2015

Chimichangas......Who Knew?

I've cooked a lot over the years.  I'm one of those people that sees a recipe and runs out to the store to get all the ingredients and cook it that night (or at least by the weekend).  I have never tried chimichangas...until this weekend.  With a family that loves Mexican food, why not?  Maybe I thought it was too hard?

Let me tell you something....these are not only easy, they are delicious! Don't let the crispy wrapper tortilla throw you off into thinking that this is hard (or fattening).  It's not.  You throw everything into a bowl, stir it up, drop a few spoonfuls into a soft tortilla, fold it up, brown in a pan and then bake at 375 for 15 minutes!  This came from Southern Living....
Ingredients

1 pound shredded deli-roasted chicken
1 (15-oz.) can black beans, drained and rinsed
1 (4-oz.) can mild chopped green chiles
1/4 cup salsa verde
1/2 teaspoon kosher salt
1/4 teaspoon freshly ground black pepper
1/4 cup chopped fresh cilantro
4 (10-inch) flour tortillas
1 cup (4 oz.) shredded Monterey Jack cheese
1/3 cup canola oil

Toppings: guacamole, sour cream, chopped tomatoes

And don't stress over how you fold the tortilla.  I pulled a few pix off the net so you can see how easy this is.

Fold them up so they look like this below.
Then brown them like this.
Then bake these on a cookie sheet for 15 minutes on 375.  Serve this with a side salad, salsa and guacamole and you are good to go!

Let me know what you think.

Paula


Thursday, May 7, 2015

Green Tea Lemonade

 Those of you working off the winter weight or just trying to be more healthy in general....try this Green Tea Lemonade from Skinny Mom.  

It's light and refreshing and easy to make.  Try it and see how you feel!


Ingredients:
•  24 oz hot water
•  2 green tea teabags
•  2 tsp honey
•  zest 1 lemon
•  3 oz lemon juice
Happy Thursday.

Paula


Wednesday, April 29, 2015

Sausage, Kale and Egg Noodles

Some of you have asked me about sharing more "quick and light" recipes.  I know....it's getting warm out and we are pulling out our shorts and bathing suits and need to get summer ready!  Here is a quick and easy pasta dish that you can have table ready in 20 minutes.
Before you freak out....let me remind you that pasta is not fattening! It's the cream sauces and cheese that increase the fat and calorie content.  This is not one of those meals.  This if yummy, filling and low in calorie.  And, if you are on a budget....it's a win/win! It is also a favorite in our house - so don't be fooled by the looks.
Use fettuccine egg noodles.  These are in most grocery stores.

Ingredients:
1 lb of ground sausage (your call - hot, medium, sweet)
1 big bunch of kale (remember kale cooks down so don't be afraid to get a big bunch)
1-2 cups of chicken stock
Pecorino romano cheese (your call here, but this is great on pasta)
salt and pepper to taste

Directions:
Rinse and break kale into small pieces.  I usually tear off the leaf from the stalk and leave the stalks out.  Bring a large pot of water to a boil and add 1/2 tsp salt and kale.  Boil for about 5 minutes or til Kale is tender.  Spoon kale out but keep the water boiling.

Brown your sausage in a large skillet.  With a slotted spoon take the kale from the boiling water and add to your sausage. Keep your water boiling and add your pasta.  Pasta will be done in about 3 minutes.  

Strain pasta, and add to the sausage kale mixture.  Add a cup of chicken stock and let pasta cook on medium for 1 minute with all ingredients.  Turn off heat and sprinkle with cheese.   You can add more chicken stock if you like but I find that a cup and a little more works great.

Serve with a side salad and you are ready to go!  So easy and so good.

Enjoy!

Paula

Thursday, February 26, 2015

Roasted Veggies

The best part of dinner for me are the sides that accompany the main course.  Our family loves vegetables and thats probably because we have them - every night.  It kind of amazes me when people say they their kids won't eat veggies or they don't like the veggies in the can.  Huh?  The can?  Ok....I'm not saying that I don't ever pop something out of the can but I can tell you that it is rarely and only if there are no other options.

A great way to make veggies is to roast them.  It's easy and super healthy.  Here is one of my favorites.
Take a head of cauliflower and a bag (the netted bag from the fresh vegetable section) of brussels sprouts.  Cut the cauliflower up into pieces and cut the end off the brussels sprouts and then cut  in half. I put them in a bowl,  sprinkle with olive oil and sea salt and toss so they are coated.  I foil a roasting pan and spread the veggies out.  Cook them on 425 for 30 min.  At about 15 minutes, spread the veggies about so they don't burn and cook evenly.
You can eat them as is or sprinkle with parmesan or romano cheese. I usually serve these with mashed potatoes too. They just go well together.  So good!

Enjoy.

Paula


Wednesday, February 18, 2015

Why Aren't You Cooking A Pot Roast?

Sitting at a basketball game with a friend the other night she leans in and tells me she is a bad mom. She said she doesn't cook dinner anymore because she doesn't have time.  The rush hour starts at 4pm and it doesn't stop until after practice at about 8pm.  So she just finds a "drive through".  I asked her if she had a crock pot and she said yes....but she's never liked anything from it.  (been there).

Years ago, working full-time and picking up my children in the evening at my friend Mary's house I use to be so jealous of the wonderful dinner smells that would come out her front door. I'd walk in and be like.....yum! What is that? My favorite smell of all time was her Pot Roast.  If you are not cooking pot roast, you are missing out on one of the best comfort foods of all time.  And.....it is so easy! You can start this before you leave for work or start it mid-day.  It all goes into one pot and you just wait til it's time to eat.
The key is to find a good "Chuck Roast".  Sometimes it says Pot Roast, but look for a Chuck Roast and  you are set.

Put the chuck in your crockpot.  Season it with some salt and pepper.  Put water in the pot until it is halfway up on the chuck and throw in a couple of beef bouillon cubes (or just use beef broth).  Chop up a big onion, throw in a bag of carrots, celery, mushrooms....red potatoes if you want and put the lid on it and walk away.  Depending on the size, a good chuck roast will cook on low for about 6 hours.

You can play around with this based on your families tastes.  My family doesn't like potatoes with their pot roast.  We like it over rice so I leave them out and cook the rice right before we eat.  I also like to throw in a cup of red wine sometimes too.  The point here, is that with minimal effort, you have a great meal.  The house smells awesome and your family will be happy.  Serve it with a salad and some bread....and you way better off than the drive through.

And if you don't have a crock pot - you can use the oven too. McCormick sells these easy to use bags that you can throw everything into and it even comes with some seasoning.  Pop it all in the oven for about three hours and wholla!  
Now of course, you can get more creative with your pot roast but my friend was looking for quick.  You just have to get the ingredients and you are good to go.  Try it.

Enjoy!

Paula

p.s.  I grabbed that pot roast picture off of pinterest so you can see what a quick crock pot meal looks like.  It's that good!


Wednesday, January 14, 2015

Chicken In The Pot - Quick And Easy Meal

A few of you have asked for quick and easy meals for families on the go...that are healthy. One of our favorite quick and easy go to meals - especially when it's cold outside is Chicken In The Pot.  You can make this from start to finish in about 35 minutes and it's pretty much a home run.

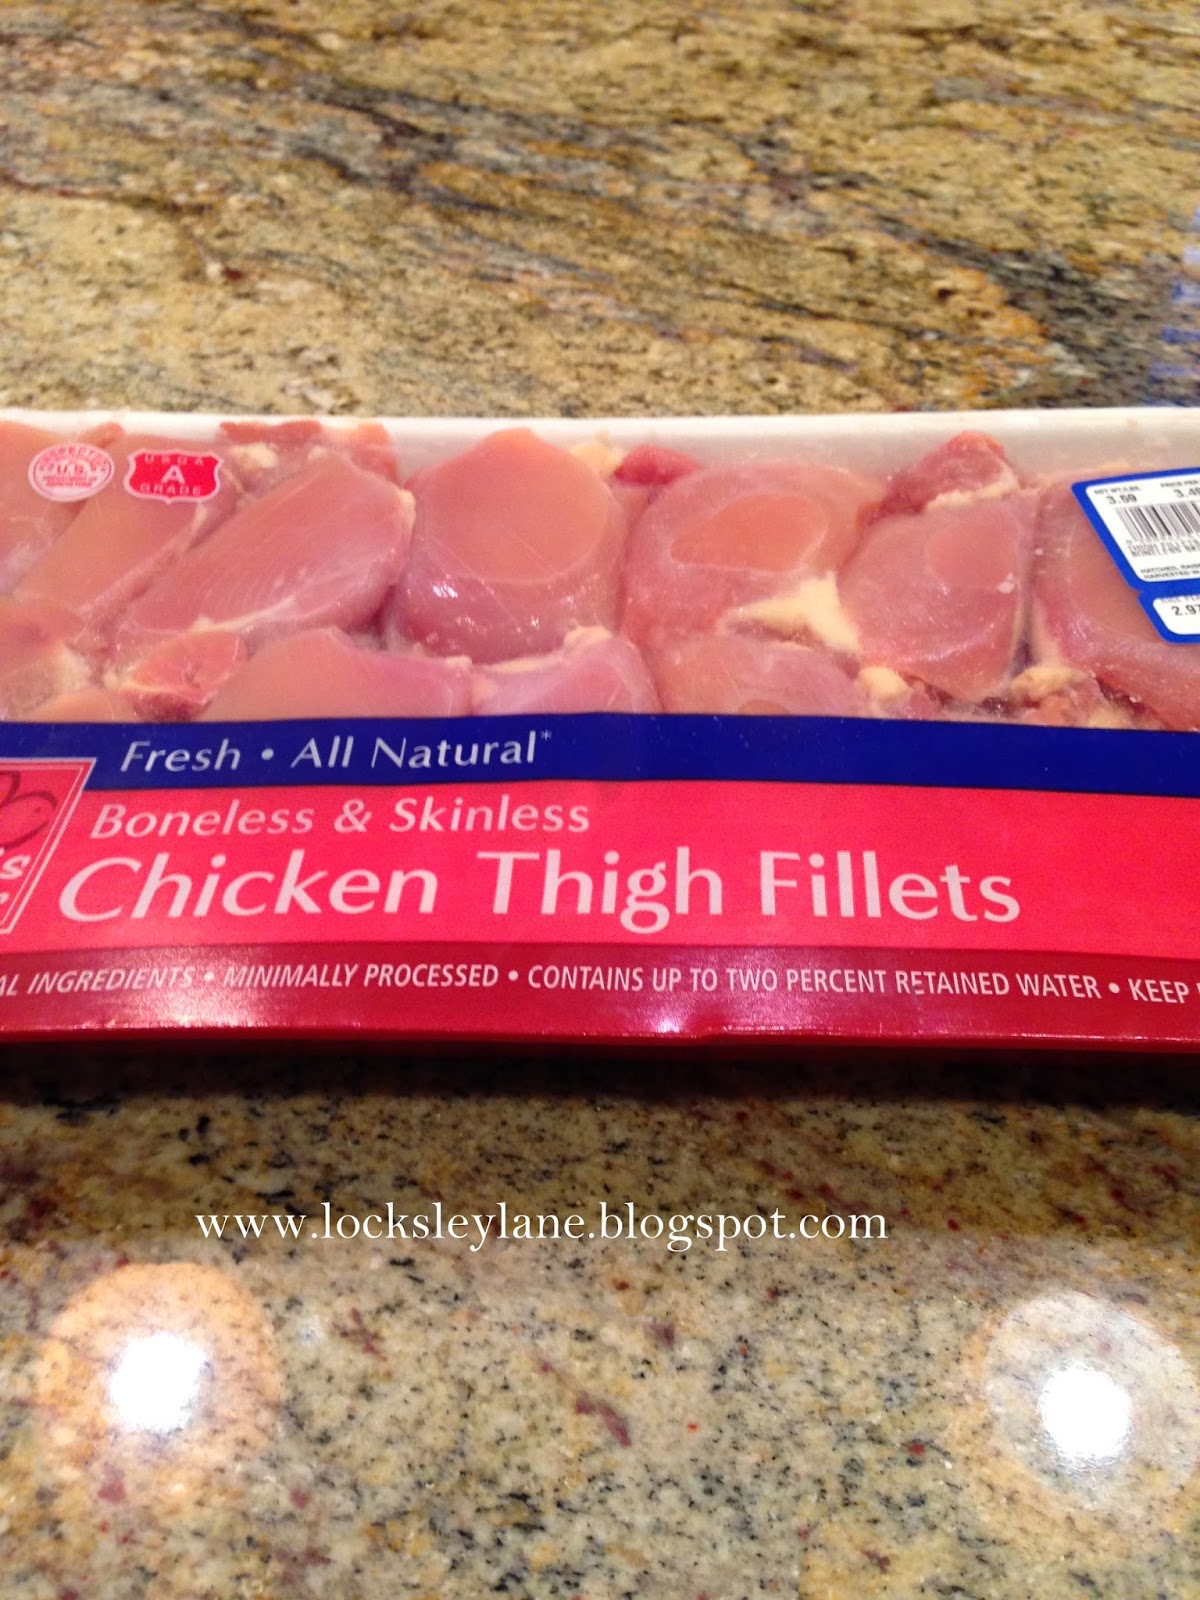
Start off with a large pack of skinless chicken thighs.....
 chicken broth, carrots, a large onion and celery.
Put a a cup of flour and some salt and pepper in a ziplock back and toss your thighs so they are coated with flour.
 Brown the thighs in a large skillet with a little oil of your choice.  I use about 2 tbsp of olive oil.
Chop up the onion and celery and add the bag of carrots (don't worry about cutting the carrots) to the skillet. Add enough broth to almost cover the tops of the thighs.  Bring to a boil and stir from the bottom as the flour will begin to thicken your stock.  Once this boils, cover and simmer for about 25 minutes.  Stir every now and then and if you need to add more stock you can.  Add salt and pepper to your liking. 
Serve over rice with a salad and hot rolls.  YUM!

This is definite comfort food.  My whole family loves this dish and it couldn't be any easier to make.

Enjoy.

Paula