Showing posts sorted by relevance for query gold leaf. Sort by date Show all posts

Monday, October 13, 2014

Gold Leafing

A friend brought me this cute little decorative table and asked that I do something to it in....gold. Right away I'm thinking...what a great little piece to gold leaf!
Before you gold leaf your furniture, you want to make sure that you fill in any little holes or dents and sand down your piece so you have a smooth finish. Gold leaf is so thin that if you don't do this, those indentions will show up like nobody's business and you aren't going to be happy.  I filled two little places with wood putty, let it dry and then sanded it down to a smooth finish.
Because gold leaf is super thin, there is the tendency to see the paint color underneath if you get little tears in it.  It is a very cool look, but I didn't want the grey color to come through with the gold so I painted this with a soft ivory color.  

To begin, clean off your piece really well and brush on the gold leafing adhesive to wherever you want to see gold. You can buy the adhesive at most craft stores. Follow the directions on wait time.  Mine was tacky and ready in about 30 minutes. Gold leaf comes in these little packets and it is extremely thin.
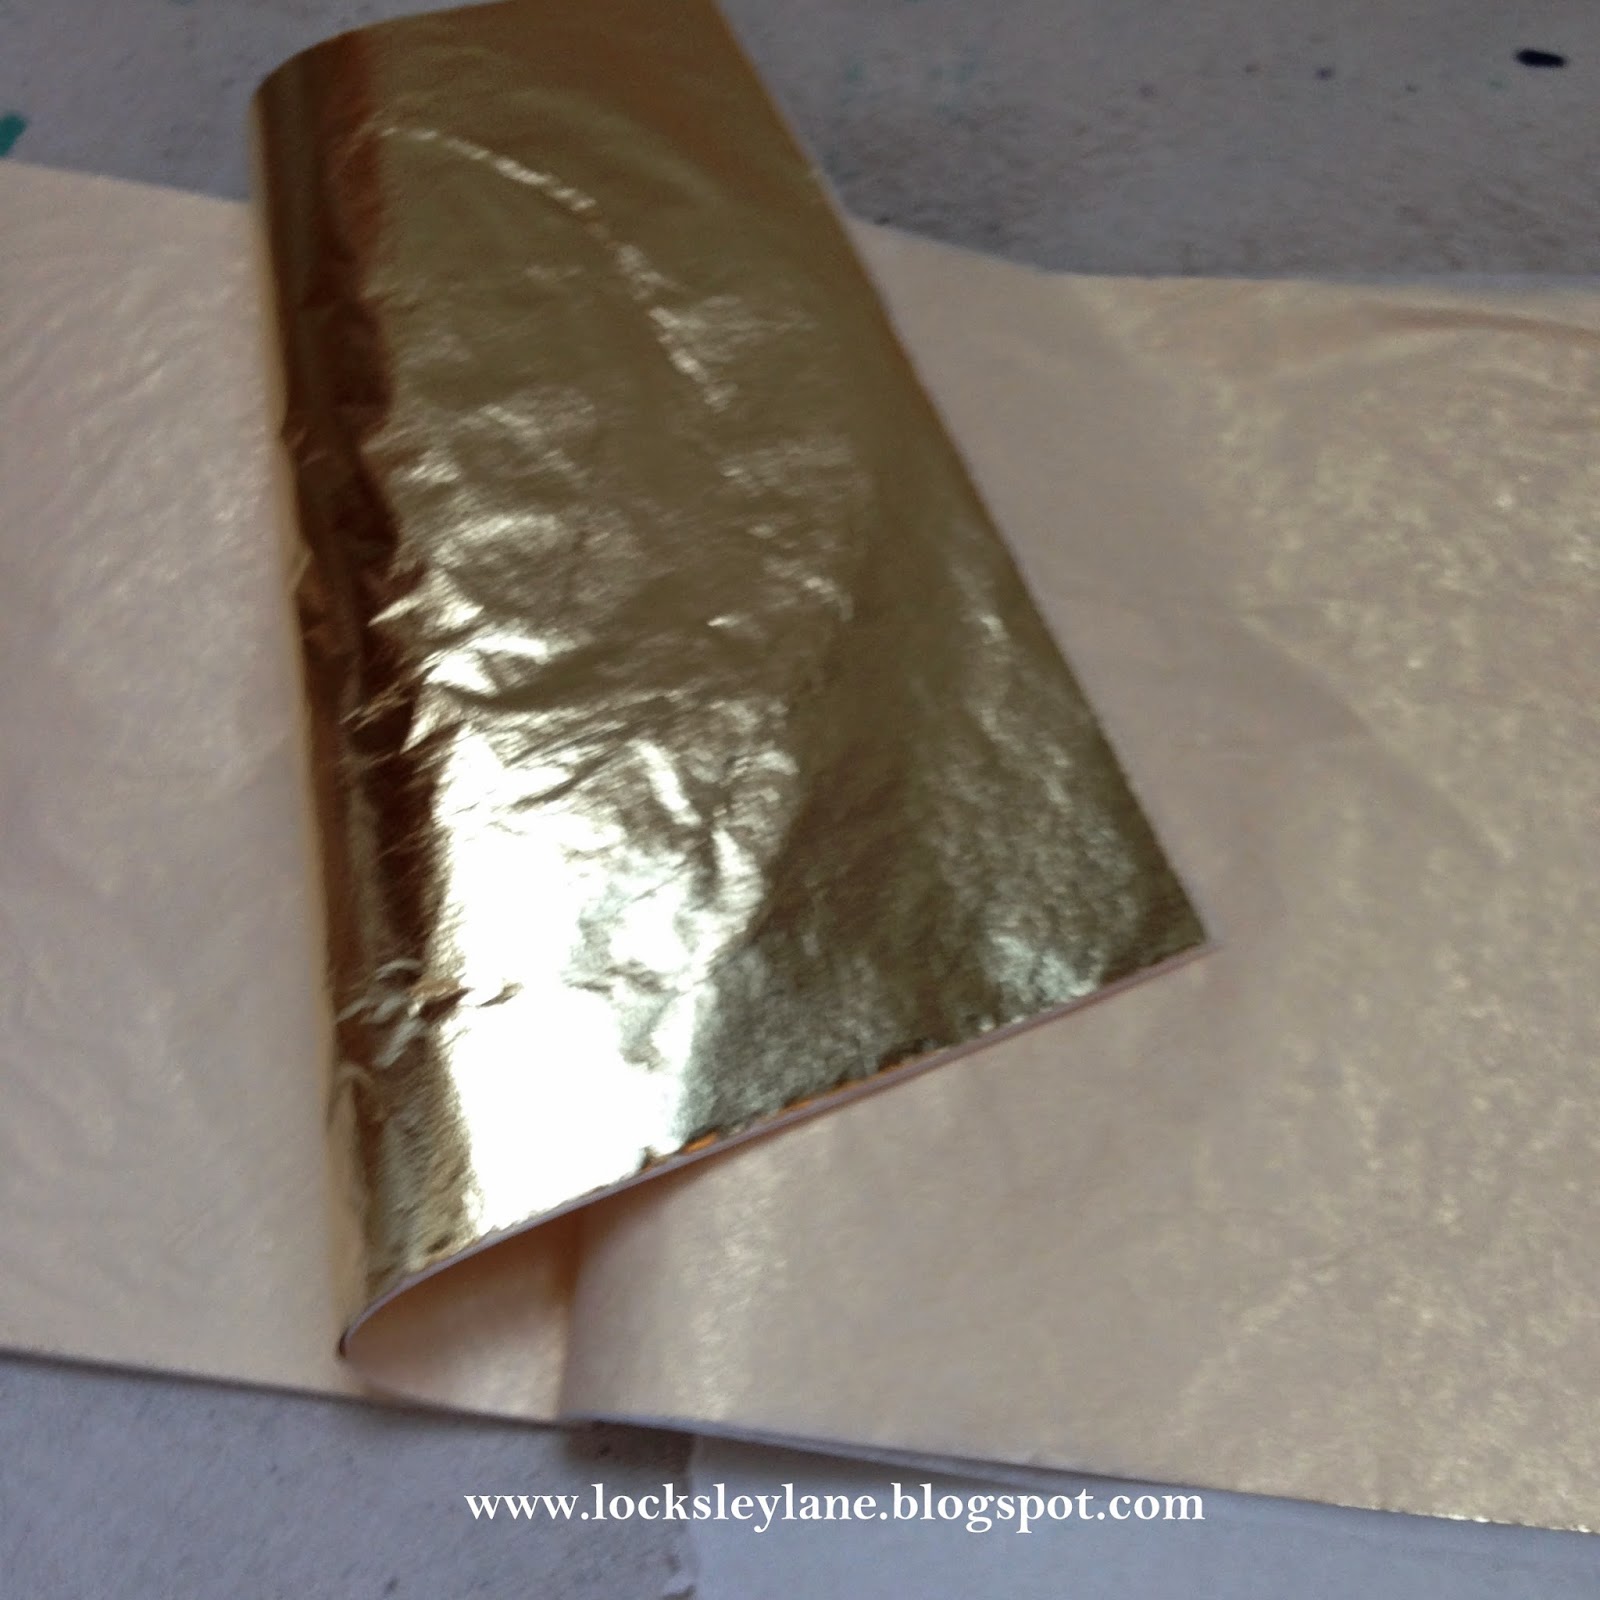
Think butterfly wings thin... 
Make sure your hands are super dry because the leaf will pull apart and stick to whatever is on your hands.  Gently lay the sheets down all over your piece.  Don't freak out at this point and think you have ruined anything.  This is how it should look. 
Take a soft cloth and lightly pat down the leaf to make sure you have good adhesion.  Then slowly and softly start to rub down your top and then work on your sides.  This is how it looks right after you rub the leaf off.  Beautiful.  
The gold leaf sticks to wherever you had the adhesive. What doesn't stick will flutter off to the floor.  Use any little scraps where there are holes or little tears.  Just stick them back on and rub them in with your cloth.  It's literally the coolest thing ever.  I put a light poly over the leaf to seal it in and she was ready to go.
I was playing around with my pumpkins after....wishing this little table was mine.  :)
Have a fabulous Monday and go get yourself some gold leaf.  You are going to love it!

Paula


Linking with:


Monday, December 8, 2014

Gold Leafing A Mirror

You can gold leaf just about anything....it doesn't have to be furniture.  A friend of mine had a large silver mirror that worked in her old home, but not in her new home.  No sense spending money on new things when you can change what you have. She wanted to gold leaf this baby and what a great choice.

To get started, prep your mirror and tape off any area that you don't want the medium to get on.
Brush on the gold leaf medium and allow it to set (about 30 minutes).  Apply gold leaf sheets to the entire mirror.  Gold leaf is very thin and delicate. You also need to apply this in an area where there is little wind and can easily be vacuumed.  Trust me when I say you will have gold leaf pieces and flecks....everywhere.  I did a Gold Leaf Tutorial on a little table that goes into more detail if you want to check it out.  This is how your piece will look until you begin to rub it out.  Don't freak.  :)
With a soft cloth, gently begin to rub the gold leaf into your project.  What comes in contact with the medium will stick and what doesn't will fall away.  You should gently "pat" the areas that are creviced and decorative so the leafing will get into the cracks.  You can pick up little pieces that fall to the floor and place them back onto your piece where the leafing may not have taken.  
Once you are done, seal the piece with a clear polycrylic.
This mirror turned out just beautiful.  The detail really pops with the leafing and you get an old world feel to your piece. You can't get this look with spray paint.

It's not quite as bright as it looks...it's sitting right under a light :)   I wanted you to see all of the creases and detail with the leafing.  The mirror went from cold to warm in an afternoon.
Here is the before and after. I just love it!

How about you?  Do you have an old mirror that needs an update?

Paula


Linking with
Mod Vintage Life
Boogie Board Cottage
The Dedicated House
The Style Sisters
Savy Southern Style
A Stroll Thru Life
Ivy And Elephants


Monday, January 12, 2015

Gold Leaf Art - Creative Painting

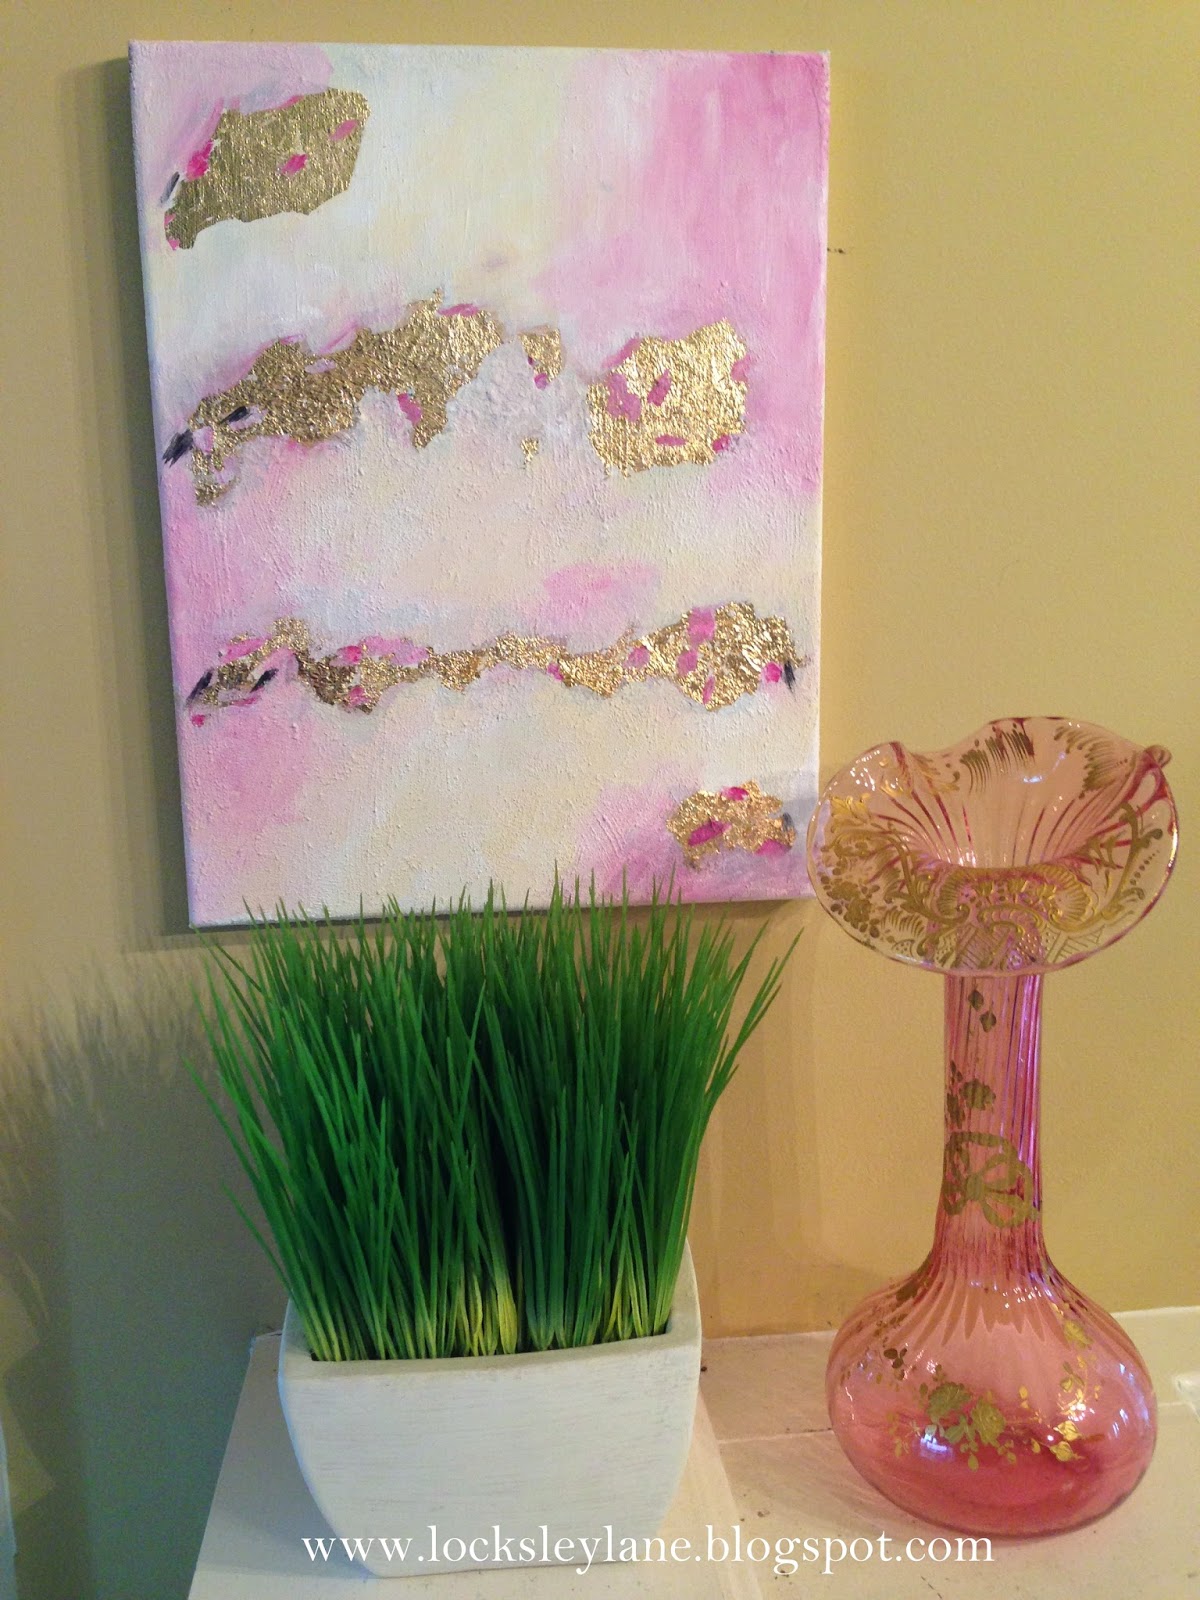
Outside of painting furniture and breathing life into things that already exist, I've never been one to actually create or paint from a blank canvas.  My mom recently handed me down this beautiful pink and gold vase while home for the holidays. Isn't she just beautiful?  With her feminine pink curves and gold accents I decided to get creative and try my hand at a little gold leaf art.

I used a structured gel that works with acrylic paints, some gold leafing and blank canvas mats from Hobby Lobby.  The structured gel I used had a sand base, which I wouldn't recommend.  Next time I'll get one with a smoother texture to it.  But hey...live and learn.
You can see the sand in the gel on the right and the acrylic on the left.  You just mix the two and the texture creates a nice effect that isn't flat on your canvas. 
I started by added some glue and adhering the gold leaf in scattered places.  Then I just started to add colors and paint.  Kind of like art class but without a teacher looking over your shoulder.  :)
You can see the sand peeking through the paint.  
I'm not quite sure where this will go but wanted you to see how easy this is to do.  You might have a little space that needs certain colors and just can find what you are looking for.  Go create something just for yourself and have a little fun with it.  

It's raining here in SC and expected to rain for the next several days.  I think I might have a project or two to finish up. :)

Have a great week.

Paula


Monday, June 29, 2015

Alice In Wonderland Chest Gets - Gold Leafed

If you have not tried gold leafing....you really should.  It is a great way to add accents to your pieces and make them stand out.
Here I've added some gold leafing to the corners of this piece.  You can see that the gold leaf is not perfect. You can fill in any gaps with gold paint or a gold "rub n buff" that you can get at most craft stores.  If you want to learn how to gold leaf, look at my blog post Gold Leafing.  It will show you how to do this step by step.
I also thought this piece would look cute if I gold leafed her legs for added detail.

I will be finishing this piece later this week.  Can't wait to show you how she turns out.

Have a great day.

Paula


Monday, July 13, 2015

Alice in Wonderland Chest - Completed

I've been working on this sweet little Alice in Wonderland chest for awhile now and she is finally complete.  If you want to see how she started out, you can see this on a previous post here.

I started this off with checks on the front and all along the top portion of the chest.
Then, using the same colors in the checks, I brought in some stripes.  Don't worry about being too perfect, that's what brings character to the piece.
I also added small checks on the bottom so there is a coordinating pattern with the top. Gold leaf was added to the legs and small sections on the sides.  If you want to learn how to gold leaf, you can look at my post Gold Leafing.  It's a great accent that looks beautiful on furniture.  :)
Then I added a classic check pattern on top and pulled in the colors from the piece throughout.  
Here is how she looks finished.  Well, minus the knobs that will go on the drawers.  Those are coming...
This is a great little accent piece that will create a lot of charm in a room.  It shows you that you don't have to paint a chest all one color.  Create patterns as you go.  It's so much fun!

Have a great week!

Paula


Monday, April 7, 2014

Small, Pink and Elegant


Something about this little end table caught my eye on pinterest.  It's vintage, pink, has little gold touches on it and... oh so elegant!  I just love it. Hmmmm.....wondering what hubby would think of these end tables in the bedroom? :)   Annie Sloan has a beautiful color called Antoinette.  A little clear and dark wax and a few touches of Rub-n-Buff in Gold Leaf and you've got this little table above.   What do you think?

Happy Monday!

Paula


Thursday, June 2, 2016

New Look On An Old Dining Room Set

I have had this old dining room set for almost 30 years.  It was one of the first pieces of furniture my husband and I bought when we first married.
I've kept it for years and since we are in a home transition, it is now our go to eating table. But ya know.....it just doesn't fit and hasn't fit....with where we are today.  So why not paint it?  Right?  Paint can pretty much transform anything and you don't have to be afraid of it.
I sort of had a plan (haha sometimes I change as I go).  I love the coco color from Annie Sloan. It's probably the closest color with brown tones in it and reminds me of hot chocolate.   I gave my table a little "scuff" with sandpaper only because my finish was so slick and shiny.  A little scuff will allow the paint to adhere better.  Don't worry about complete coverage your first time through.  Just make sure you go from left to right and make a complete swipe from end to end on your last paint stroke.  This will help minimize your brush strokes in the middle of the table.  Then let the paint self level.  Let it dry.
Now, if you have a leaf or extra part to your table....now is the time to pull that out, put it in and paint your whole table at one time.  Do not try to do this later...... :(

Then I painted the chairs a mixture of half pure white and half old white.  It's a pretty white without too much ivory.  
But when I put the chairs next to the table, they were too.....plain for me.  I like a little "sprinkles" with my neutrals (you know a little extra something).  
So I did a coco wash and put this on the chairs over the white.  It brought the chairs to life and gave them a warm feel to match the coco table.  
I also thought the table was a little plain, so I added an outline with gold gilding wax.  This is such an easy thing to do and it added just the right little bit of umph!
As much as I love Annie Sloan paint, I am not a fan of the wax on large surfaces.  That's ok... You don't have to wax.  You can put a water based polycrylic over this and it will be beautiful! That's what I did.  I got a clean smooth finish on a table that will see lots of grease and food and the finish makes me happy.  That's what's important.  YOU have to like it.  If you don't like a wax finish, you have options.  ;)  I did wax the chairs as I like a waxed chair finish.  Just not large surfaces.  
It's so pretty and works so much better in our little space that I can't believe I waited so long to do this.  Next, I will be covering the chair pads.... stay tuned.  
Don't be afraid to tackle what you think is a big job.  This was so much easier than you might think.  

Have a great week.

Paula