Before you gold leaf your furniture, you want to make sure that you fill in any little holes or dents and sand down your piece so you have a smooth finish. Gold leaf is so thin that if you don't do this, those indentions will show up like nobody's business and you aren't going to be happy. I filled two little places with wood putty, let it dry and then sanded it down to a smooth finish.
Because gold leaf is super thin, there is the tendency to see the paint color underneath if you get little tears in it. It is a very cool look, but I didn't want the grey color to come through with the gold so I painted this with a soft ivory color.
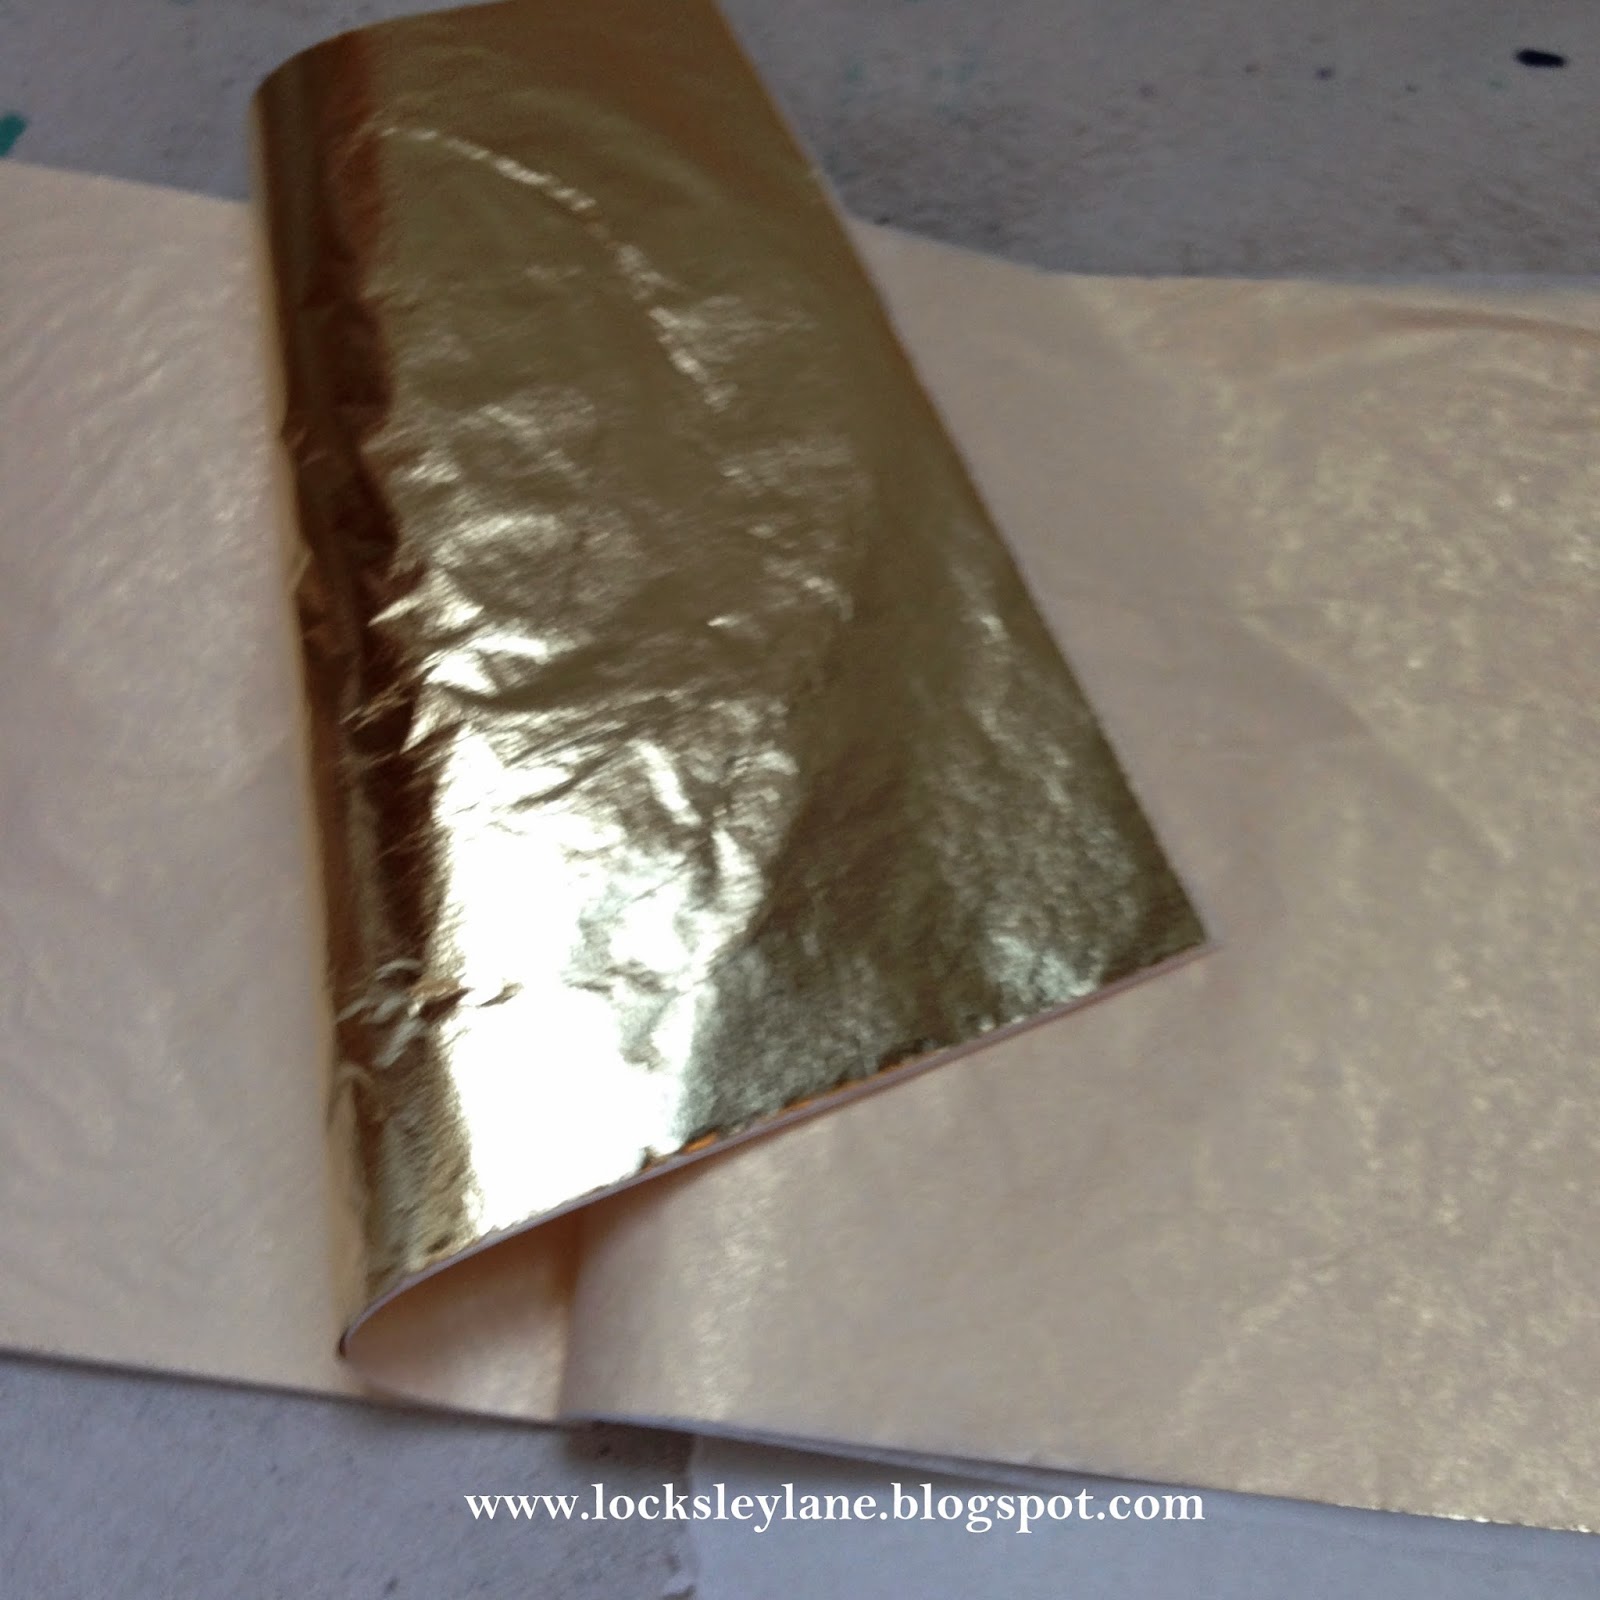
To begin, clean off your piece really well and brush on the gold leafing adhesive to wherever you want to see gold. You can buy the adhesive at most craft stores. Follow the directions on wait time. Mine was tacky and ready in about 30 minutes. Gold leaf comes in these little packets and it is extremely thin.
Think butterfly wings thin...
Make sure your hands are super dry because the leaf will pull apart and stick to whatever is on your hands. Gently lay the sheets down all over your piece. Don't freak out at this point and think you have ruined anything. This is how it should look.
Take a soft cloth and lightly pat down the leaf to make sure you have good adhesion. Then slowly and softly start to rub down your top and then work on your sides. This is how it looks right after you rub the leaf off. Beautiful.
The gold leaf sticks to wherever you had the adhesive. What doesn't stick will flutter off to the floor. Use any little scraps where there are holes or little tears. Just stick them back on and rub them in with your cloth. It's literally the coolest thing ever. I put a light poly over the leaf to seal it in and she was ready to go.
I was playing around with my pumpkins after....wishing this little table was mine. :)
Have a fabulous Monday and go get yourself some gold leaf. You are going to love it!
Paula
Linking with:


No comments:
Post a Comment