Showing posts with label Annis Sloan Chalk Paint. Show all posts

Monday, September 21, 2015

Painting Wooden Pumpkins and Acorns

One of the things I love about fall, is the endless decorations you can make and create for a festive holiday home/work space.  You just need a little patience and some paint and you can pretty much create anything.
A client of mine gave me some wooden pumpkins and an acorn to paint.  They started out plain and kind of "eh" in the picture below.
I added colors that she uses in her home and brought in different shades for depth.  A little paint transforms these pieces in no time.

Who thought little boring wood pieces could be so cute!  Find your own pieces to paint, or let me paint them for you.  Check out my gallery to see different things I've done.  

Painting makes me happy.  Life is too short to limit possibilities. 

Have a great week!

Paula


Monday, February 23, 2015

Encourage One Another

One of the many things that I love about blogging, is the ability to encourage one another to try new things.  I love sharing techniques and showing you all of the fun things you can do with paint and furniture restoration. Your emails and support back to me are inspiring.  I especially love it when you send me pictures of your own re-creations.
The table above is an old round table that my new friend Stephanie from Pennsylvania found for her home.  The table was in good condition, but the brown wood wasn't what she was looking for.  With a little bit of chalk paint and some light distressing, Stephanie gave this table new life. Look below at how beautiful this turned out.  This went from a nice coffee table to a beautiful new coffee table that is light and has character.
Stephanie also had a side table that she was using in her home.  It totally works as is, but with a little paint, this went from nice to.....amazing.

By combining several different colors, she created a unique finish that looks fabulous.  Chalk paint allows you to create different finishes due to its ability to blend and adhere.  
Watching old furniture reinvented to work in your new home makes me happy!  If you have old pieces of furniture, don't be afraid to recreate them into something that works in your life today.  With chalk paint, it really is easy.

Thank you for sharing your beautiful new pieces Stephanie.

"Therefore encourage one another and build each other up, just as in fact you are doing."
                                                                                                      1 Thessalonians 5:11
Paula


Thursday, February 6, 2014

Sweet Anne's Sideboard Makeover

I bet you have an old Queen Anne style side board in your dining room or possibly your attic. It may have been given to you by your aunt or your grandmother. You are probably thinking....I don't need this anymore and it doesn't go with my new furniture or what I want to do in this room...right? This is where you just need a little vision and some chalk paint.  

I picked this up from my sweet new DIY friend Anne the other day.  She said she didn't need it anymore and I was more than happy to take it off her hands.  

I had a vision in my mind of what I wanted to do with this.  You can see Isabelle gets very excited too when I start to paint :).   I wanted to do a crackle in old white and have a pink show up through the crackle.  I thought that would look pretty neat.  So I painted my first coat pink, put the crackle on and then painted the top coat in old white.

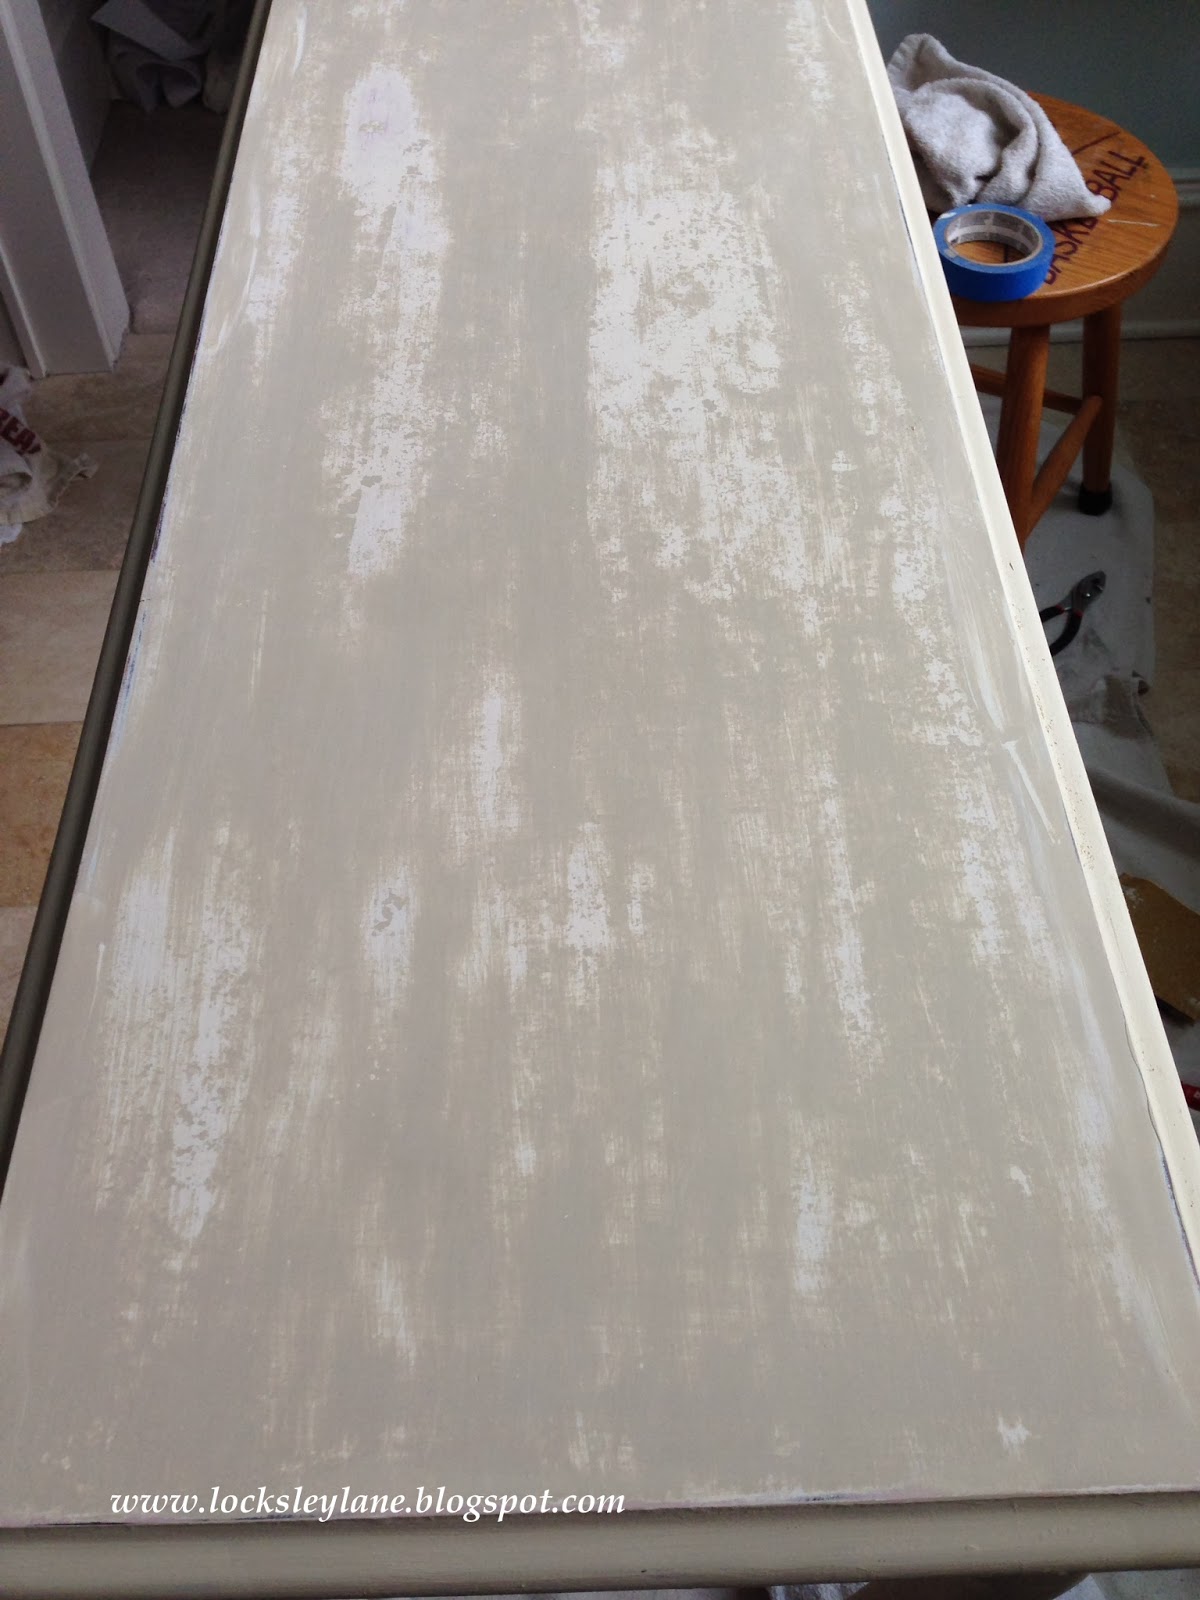
It worked in some places and not as well in others. This is where people get frustrated and feel like they aren't meant to paint or they aren't doing something right. But, you couldn't be more wrong. This is where you sit back and say...hmmm....not really what I want so let me try something else. Not a big deal.  Get out some Zinssers Shellac, and spray it over the crackle.  If you don't, the crackle will continue to activate with your next coat of paint.  I painted over the crackle with some country grey and began to distress and sand the top.  This is also where every painter stops in the process and thinks... is this working? Step away from it.  Look at it from another angle.  I liked what I was seeing.  

I used the old white on the front and back panel and did the legs in country grey to combine the colors on top and pull the look together.  


I love how distressed the top looks. 

I changed out the hardware to something a bit more chunky to support all of the distress and gave it a clear wax.  I decided not to use the dark wax on this piece.  See...you don't have to use the dark wax!


I love how this piece turned out.  Change the decor and this piece will go in any room.

I bet you have an old piece of furniture that needs a makeover.  Go ahead and give it one. You won't regret it.

Thanks for visiting.

Have a great Thursday.

Paula


Linking to: