Showing posts with label Furniture. Show all posts

Monday, November 2, 2015

Deciding How To Paint A Piece


I have been looking for a round end table for a long time. I just happened to find one with a marble top.  Bonus!  The marble top is an insert and comes out. It's filled with pinks, taupes, whites and cream.  I know she doesn't look like much now...but that's the beauty of paint.  It transforms pieces.

I started with a couple of soft neutrals and the details at the bottom really started to come out.  They were almost unnoticeable before.  Sooo, should I leave this neutral or add some color? Well, asking that is kind of silly, because you all know I'm going to add some color.
I added some soft colors and will layer the neutral colors back on.  I should have done that from the beginning, but sometimes I just don't know where a piece will take me until I get into it.  
I know you are thinking...hmmmmm right about now....but just wait.

Let's see how this little beauty turns out.  :)   I'll post pics by the end of the week.

Have a great week.

Paula


Wednesday, February 4, 2015

Transforming An Old TV Hutch

I went looking around in my garage the other day and found a great piece to work on.
This is an old TV hutch that we had in our previous home.  I loved it's size, the warmth of the wood and it's utility... then. The problem is that she was used to hide the TV, when the TV was big and bulky.  Now with the streamlined flat screens, her purpose needs to change.  
I'm thinking that she could turn into a beautiful armoire with a few shelves built onto the stand already in place.  She has three working drawers too.  What do you think?  The wood stain on this isn't bad...and with the right home, she may not need to be painted.  But, we live at the beach and I'm thinking either a soft cream or maybe a driftwood grey with cream undertones. 

I'm waiting for some better painting weather but she is next on the list!

What do you have that you can transform?  

Paula

Thursday, October 30, 2014

Stripping and Staining Furniture

I talk a lot about painting furniture.  I've received quite a few emails about finishing wood furniture.  So I want to lay aside all your fears and show you how easy it is to strip and refinish wood.  This is especially handy if you want to keep a wood top and paint the bottom.
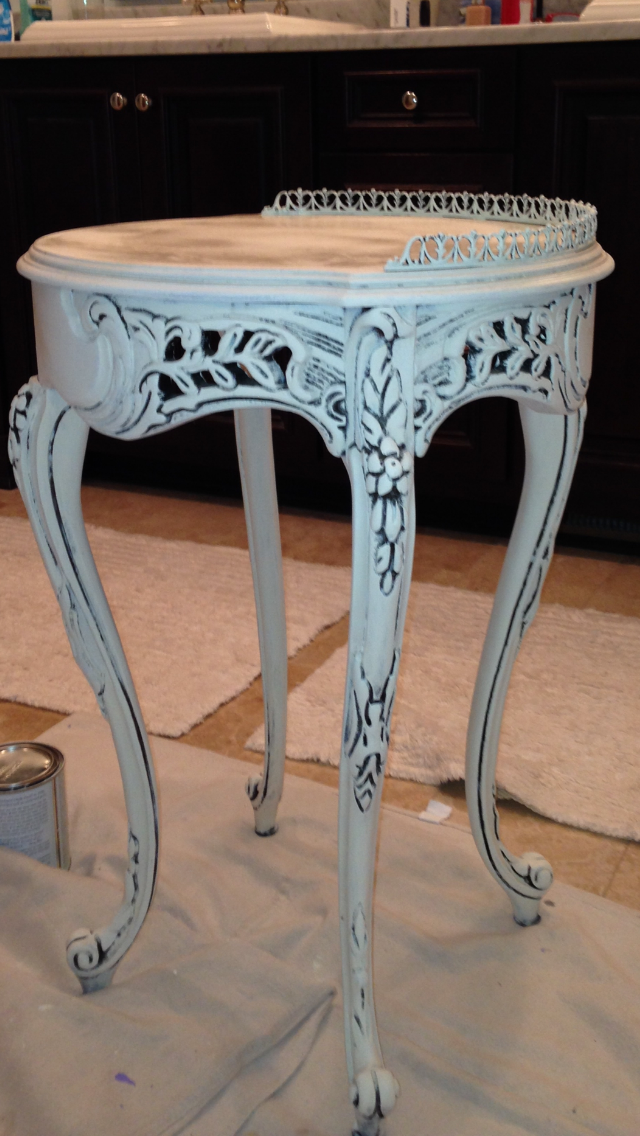
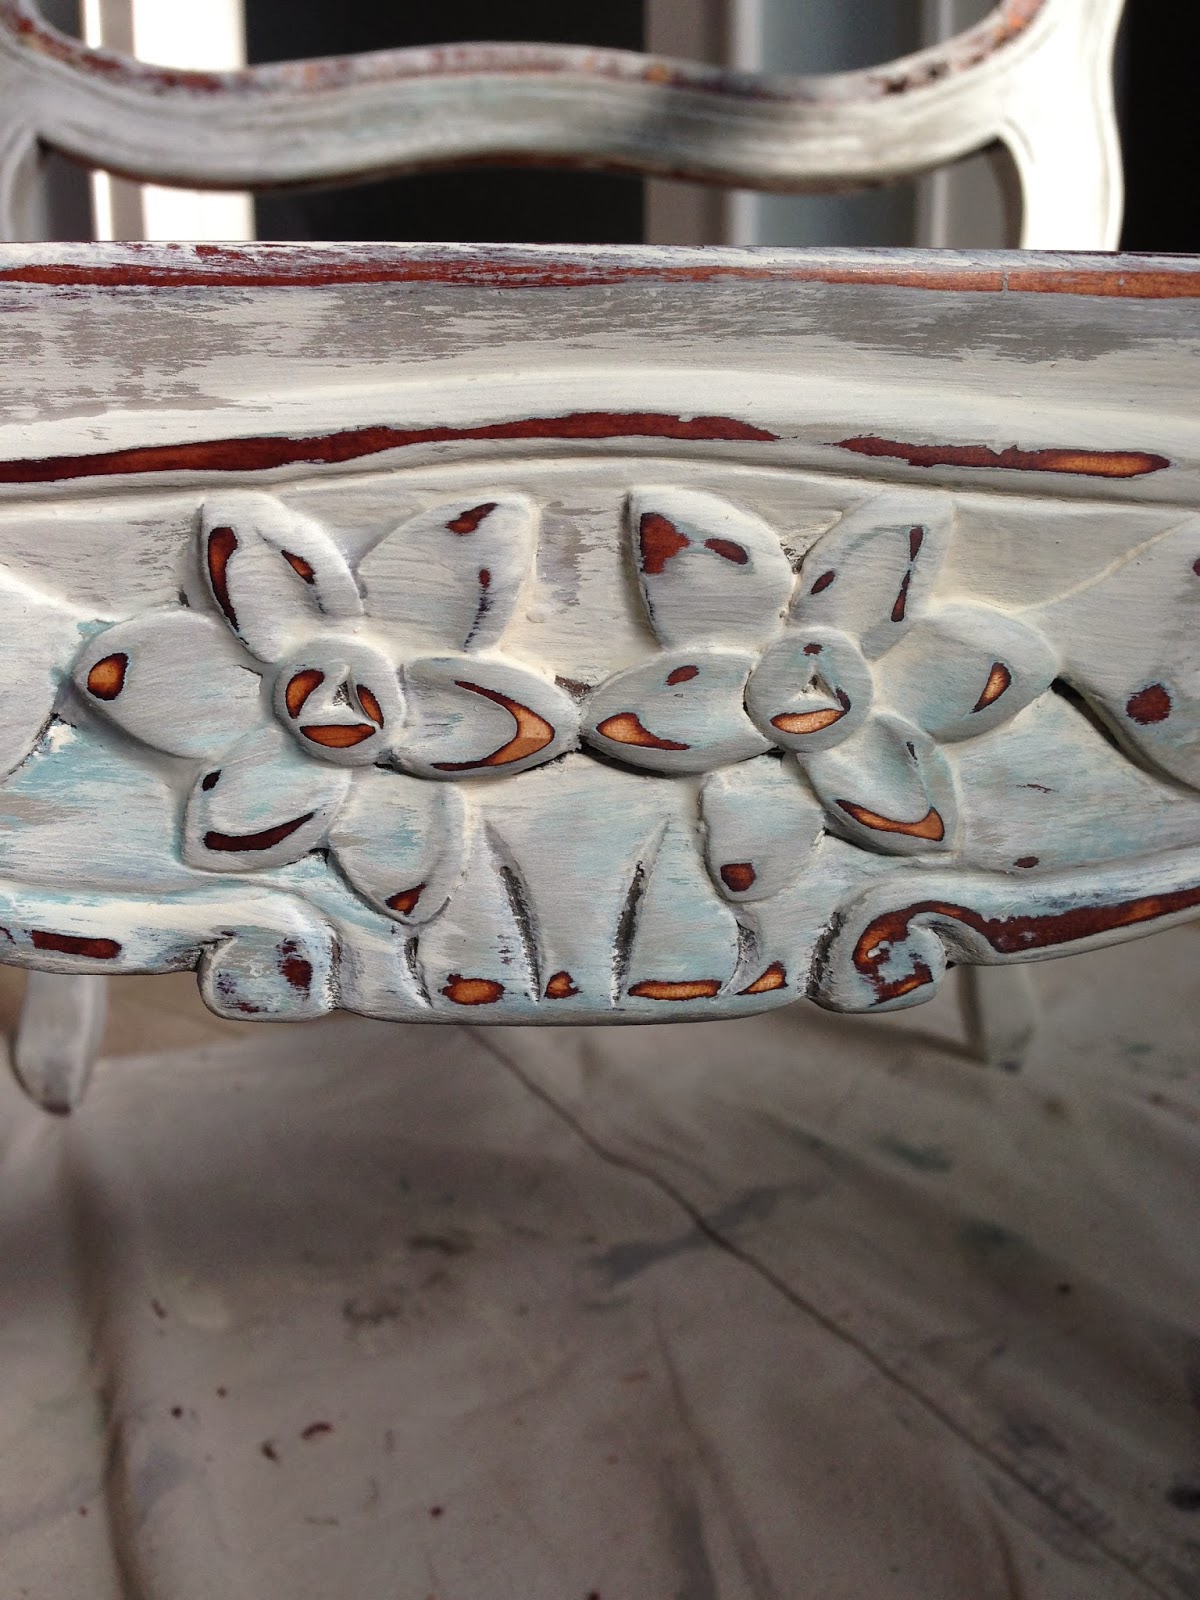
I have this pretty antique desk that I've wanted to refinish for awhile now.  It has great lines and is in good shape, but it is a red mahogany that just doesn't work for me.  It's almost orange.  The top had a lot of water marks and wasn't in the best shape. So I decided to paint the bottom of this piece and strip the top and keep the wood.  Stripping wood is not hard to do.  It's actually pretty easy.  Stripping paint is a little more involved from a time perspective but it's not that hard either.  So don't fret.

Enter Citristrip.
This is a really nice stripping product that isn't too harsh and actually smells pretty nice.  They say you can do this inside, but unless you have a workroom or basement, I would do this outside as stripping can be a little messy (not horribly) but you don't want this on your floors.  Pour a generous amount on your wood and use an old chippy brush to spread it all over your piece.  All over.  Don't leave any wood that you are stripping without this. Leave this on for an hour or so, maybe longer if you have lots of paint layers.  I went to the grocery store and came back and about an hour and a half later.  I took at scraping tool and my safety goggles and just scraped it off.  This will work with paint and with varnish.  Scrape all the gunk into an old can.  I think I used a shoe box...... and let your piece dry. Give it a good 24 hours.  Then sand.

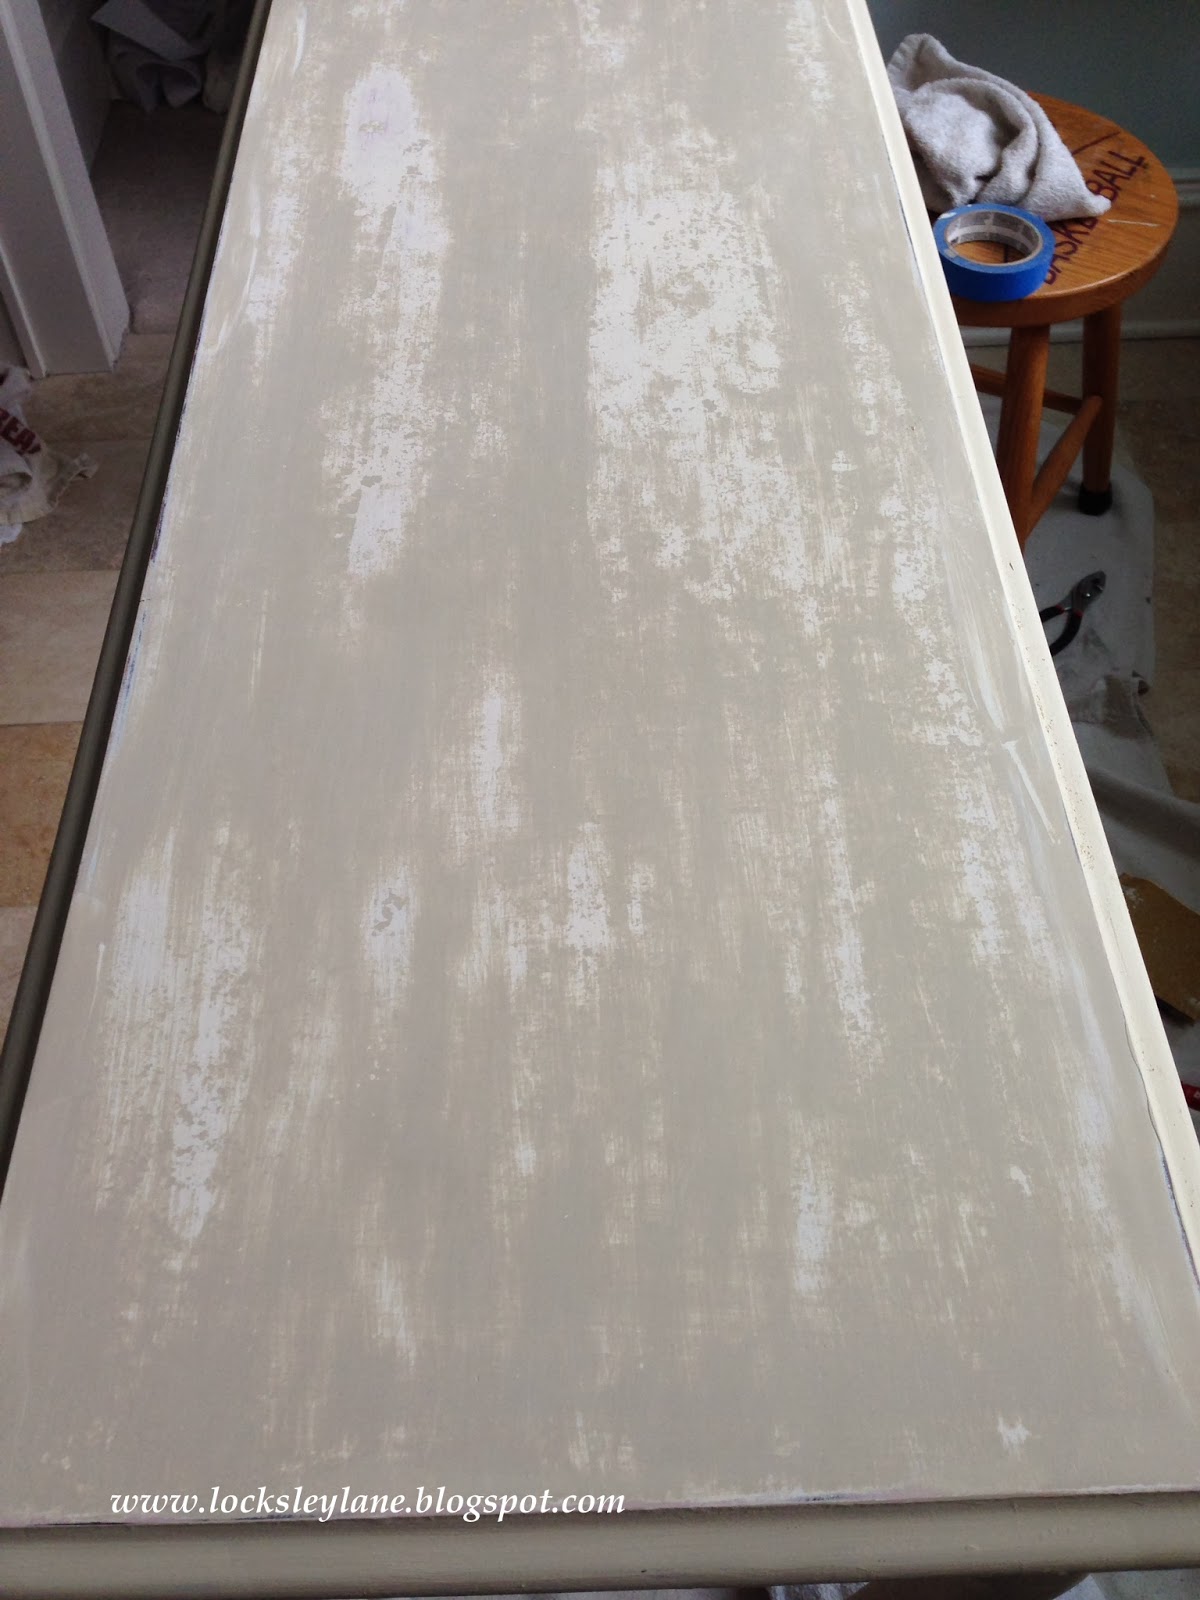
Make sure you sand off all of the stain and any paint left on the piece.  Wear a mask if you are sanding old paint and always wear your safety goggles.  You will have a beautiful unstained piece of wood underneath.  
Now you are ready to stain.  Buy a can of Pre-stain.  This will solve lots of little problems that could be a pain...trust me on this one.  It's like conditioner for your hair.  It treats the wood and preps it so the stain will take evenly. You only have to wait about 15 min and you can begin staining.
I chose a Minwax stain in walnut. Following the grain of the wood, paint your stain on the section you are finishing.  If you are doing a whole piece, work in sections (top, sides, face) and keep stain on for the same amount of time for each section.  I was just doing the top so I put the stain on and left it for a few minutes. 

 Take a clean rag and just wipe it off.  Just wipe.  The longer you keep the stain on the more it penetrates.  But DON'T let it dry.  Wipe it off and you will have a beautiful stained piece of wood.  Pat yourself on the back cuz stained wood is sooo pretty!
I forgot to take a picture but the wood on the right is a nice deep walnut brown.  Now leave your piece for 24 hours. I know, if you are like me you want to be done now.  But the wood needs to dry, or you are going to have water marks under your finish.  

I will continue and show you the next step of how to finish your piece - easily on Monday.

Let me know if you have questions.

Paula


Wednesday, March 12, 2014

The Beautiful Little Tea Table

I've had this table for a long time and over the years she has moved around from room to room.  She belongs with a lower serving tea table that sits in my mom's house.  She had a very dark stain that had beautiful little flowers on the top and sides that were flaking off. She is beautiful as is.....but too dark for where I am in my life right now.  (Gasp! I can hear the antique collectors saying don't paint her).
The thing is....when you refinish furniture, you can also restore.  If I don't like how she turns out, I can strip the paint and restore her to her natural wood. That's what is so cool about furniture restoration. For now, I want those carvings to stand out and I want to lighten her up.
I put an antique white on her for starters. I added a little bit of Duck Egg Blue to her curves and used both a clear and dark wax. Now that I can see all of her beautiful details, I've totally fallen in love with her.

The paint brought out all of the little details that were hidden in the dark stain.    

Ok, I'm not the best photographer.....but isn't she sweet?  I love her lightened up.

I hope you have a great day.  Remember to be kind.

Paula

Be kind and compassionate to one another, forgiving each other, just as Christ God forgave you.
Ephesians 4:32

French Country Cottage
Chic By Tab
Nancherrow
Revisionary Life
Miss Mustard Seed
Green Willow Pond
A Stroll Thru Life
Coastal Charm
Upcycled Treasures
Savy Southern Style
Ivy and Elephants


Thursday, February 6, 2014

Sweet Anne's Sideboard Makeover

I bet you have an old Queen Anne style side board in your dining room or possibly your attic. It may have been given to you by your aunt or your grandmother. You are probably thinking....I don't need this anymore and it doesn't go with my new furniture or what I want to do in this room...right? This is where you just need a little vision and some chalk paint.  

I picked this up from my sweet new DIY friend Anne the other day.  She said she didn't need it anymore and I was more than happy to take it off her hands.  

I had a vision in my mind of what I wanted to do with this.  You can see Isabelle gets very excited too when I start to paint :).   I wanted to do a crackle in old white and have a pink show up through the crackle.  I thought that would look pretty neat.  So I painted my first coat pink, put the crackle on and then painted the top coat in old white.

It worked in some places and not as well in others. This is where people get frustrated and feel like they aren't meant to paint or they aren't doing something right. But, you couldn't be more wrong. This is where you sit back and say...hmmm....not really what I want so let me try something else. Not a big deal.  Get out some Zinssers Shellac, and spray it over the crackle.  If you don't, the crackle will continue to activate with your next coat of paint.  I painted over the crackle with some country grey and began to distress and sand the top.  This is also where every painter stops in the process and thinks... is this working? Step away from it.  Look at it from another angle.  I liked what I was seeing.  

I used the old white on the front and back panel and did the legs in country grey to combine the colors on top and pull the look together.  


I love how distressed the top looks. 

I changed out the hardware to something a bit more chunky to support all of the distress and gave it a clear wax.  I decided not to use the dark wax on this piece.  See...you don't have to use the dark wax!


I love how this piece turned out.  Change the decor and this piece will go in any room.

I bet you have an old piece of furniture that needs a makeover.  Go ahead and give it one. You won't regret it.

Thanks for visiting.

Have a great Thursday.

Paula


Linking to:


Tuesday, January 28, 2014

French Chair Makeover


I have always wanted to makeover a french chair....I just needed to find the right chair.

That is when I found this baby and dragged my friend Barb out into the middle of South Carolina to help me pick it up.  I'm sure she was thinking....."um yeah, ok..."  Then I started to take it apart.


Once all the staples were out (and there were tons of them) I used ASCP in Provence, some French Linen and Old White.


It was a little more grey than I wanted it to be but I knew I could fix this with a dark wax glaze.  If you add a little bit of mineral spirits to the ASCP dark wax, you get a beautiful dark glaze that will age the paint.  It is also much easier to put on than using your wax brush.  Just wipe it on with a cloth.   I ended up using a $4 drop cloth from Lowes for the material.  Yep, a drop cloth.  I washed it several times in hot water and bleach and then ironed it.  It is the perfect material!


I was going to sell this chair, but I like it so much I'm going to keep it!  Do you have an old chair that you can transform?  If you need help, let me know.

Thanks for stopping by.

Paula

Be kind to one another, tenderhearted, forgiving one another, as God in Christ forgave you.
Eph. 4:32

Linking with:
The Style Sisters
From My Front Porch To Yours
The Scoop
Common Ground-do
Jennifer Rizzo
The Lavender Garden Cottage
Not Just A House Wife
Liz Marie
Miss Mustard Seed
Timewashed
Nancherrow
Upcycled Treasures
Coastal Charm
Rain On A Tin Roof
I Should Be Mopping The Floor
My Uncommon Slice of Suburbia
Home Stories A to Z
Savy Southern Style
Ivy And Elephants
Revisionary Life
Domestically Speaking
Redoux Interiors
Green Willow Pond
A Stroll Thru Life

Wednesday, January 22, 2014

Perfectly Imperfect

One of the things I love about refinishing old furniture is that I get to decide what a piece will look like. And sometimes, I don't know what that will be until I get started. Once I put that first layer of paint on a piece it begins to have a mind of its own.  The best part about vintage or old pieces, is that the piece doesn't have to be perfect.  In a world of perfection and beauty, I find this in the worn edges, cracks and chips that are in old pieces.  Those imperfections tell a story.  A woman sent me an email asking me how to get her paint to look perfectly smooth without imperfections.  If you want perfectly painted pieces,  I can tell you how to achieve this but then I ask why?  Let your old pieces tell a story and free yourself from feeling like your piece has to be perfect.  I was in Celadon the other day, a neat home furnishing store here in Mt. Pleasant, SC and was looking at this fabulous white hutch.

It was beautiful and new and made to look old and worn.  The inside had a finish that you can easily achieve with a dark wax or a glaze using heavy brush strokes.  


The edges were heavily distressed so you can see the wood through the paint.


The distressing and glaze gives the piece character and makes you feel like it has been moved around and opened a thousand times.  Is it perfect?  Yes. It is perfectly imperfect!  And that is what is great about refinishing old furniture - or, in this case, buying new furniture that looks old.  

Embrace imperfection!  

Happy Wednesday.

Paula


Tuesday, January 21, 2014

Sweet Little Side Tables

I love little end tables with spindle legs and little curves.  I found these when a sweet girl was graduating from the College of Charleston.  She was moving on and getting rid of some very college used pieces that she didn't need any more.  Time for a makeover.
You can see all the cup marks on the table tops.  I doubt those were coffee cups. :)
I used Annie Sloan Country Grey,  a little bit of clear wax, replaced the knobs, and they look brand new.  No primer, no sanding. Just a little distressing at the end. 


I know you have some little end tables that need a makeover...right?  Go get some paint and do your own makeover.  You can have a new look tomorrow.      

Happy Tuesday.

Paula

Linking With