Showing posts with label painting. Show all posts

Tuesday, December 16, 2014

The Dressing Room

I have a friend who told me she was creating a "dressing room" in her home.  I helped her with a couple pieces along the way and was blown away when I saw what she did. With golds, blacks and creams, she took a spare bedroom and created the most beautiful space for herself.
Above is what you see when you first walk into the room.  You can see my blog on how I painted this Little Black Desk on a previous post.  You can also see how I Gold Leafed the mirror.  
On both sides of the room her handyman husband created these awesome open wood closet spaces for clothes and what not.  She isn't fully done with the room but I wanted to capture some of this creativity while I was there.  :)

There is a small bed in the room (she is still working on this) and above the bed are these beautiful framed giant Barbie pictures.  Aren't they great? They totally set the tone for this fabulous room.
The thing I love about this room is that it's a place my friend created for herself.  It's glamorous, romantic and feminine.  It makes you feel good just looking at it.  She had a vision and brought that vision to life.  Beautiful!  

Thanks for stopping by.


Paula


Thursday, October 30, 2014

Stripping and Staining Furniture

I talk a lot about painting furniture.  I've received quite a few emails about finishing wood furniture.  So I want to lay aside all your fears and show you how easy it is to strip and refinish wood.  This is especially handy if you want to keep a wood top and paint the bottom.
I have this pretty antique desk that I've wanted to refinish for awhile now.  It has great lines and is in good shape, but it is a red mahogany that just doesn't work for me.  It's almost orange.  The top had a lot of water marks and wasn't in the best shape. So I decided to paint the bottom of this piece and strip the top and keep the wood.  Stripping wood is not hard to do.  It's actually pretty easy.  Stripping paint is a little more involved from a time perspective but it's not that hard either.  So don't fret.

Enter Citristrip.
This is a really nice stripping product that isn't too harsh and actually smells pretty nice.  They say you can do this inside, but unless you have a workroom or basement, I would do this outside as stripping can be a little messy (not horribly) but you don't want this on your floors.  Pour a generous amount on your wood and use an old chippy brush to spread it all over your piece.  All over.  Don't leave any wood that you are stripping without this. Leave this on for an hour or so, maybe longer if you have lots of paint layers.  I went to the grocery store and came back and about an hour and a half later.  I took at scraping tool and my safety goggles and just scraped it off.  This will work with paint and with varnish.  Scrape all the gunk into an old can.  I think I used a shoe box...... and let your piece dry. Give it a good 24 hours.  Then sand.

Make sure you sand off all of the stain and any paint left on the piece.  Wear a mask if you are sanding old paint and always wear your safety goggles.  You will have a beautiful unstained piece of wood underneath.  
Now you are ready to stain.  Buy a can of Pre-stain.  This will solve lots of little problems that could be a pain...trust me on this one.  It's like conditioner for your hair.  It treats the wood and preps it so the stain will take evenly. You only have to wait about 15 min and you can begin staining.
I chose a Minwax stain in walnut. Following the grain of the wood, paint your stain on the section you are finishing.  If you are doing a whole piece, work in sections (top, sides, face) and keep stain on for the same amount of time for each section.  I was just doing the top so I put the stain on and left it for a few minutes. 

 Take a clean rag and just wipe it off.  Just wipe.  The longer you keep the stain on the more it penetrates.  But DON'T let it dry.  Wipe it off and you will have a beautiful stained piece of wood.  Pat yourself on the back cuz stained wood is sooo pretty!
I forgot to take a picture but the wood on the right is a nice deep walnut brown.  Now leave your piece for 24 hours. I know, if you are like me you want to be done now.  But the wood needs to dry, or you are going to have water marks under your finish.  

I will continue and show you the next step of how to finish your piece - easily on Monday.

Let me know if you have questions.

Paula


Tuesday, October 28, 2014

Ceramic Fruits Of Your Labor

Ya know.....you can really paint just about anything today.  My friend found these large ceramic clay fruits at an estate sale (each of them is almost as big as a basketball).  They aren't very attractive, but she has a great eye for finding cast away things knowing that they can become something awesome.  So she gave them to me and said to do something with them that would work in her kitchen.  Hmmm....what do I do with large ugly fruit?  :)

Painting clay and ceramics can be tricky because the paint needs to adhere to the surface.  When in doubt, you should seal the surface with a product like Ceramcoat.

You can see the Ceramcoat on the two fruit on the right.  It seals them and gives your paint something to grab on to.  


With a little paint and your imagination you can take anything and turn it into something fun and whimsical. Who'd have thought these ugly fruit would turn out to be so darn pretty?  


Do you have something that isn't quite working for you as is?  Go get some paint, recreate and enjoy the fruits of your labor!

Happy Tuesday.

Paula

Linking with:
Ivy and Elephants
Savvy Southern Style
The Dedicated House
Worthing Court
Dwelling In Happiness
A Stroll Thru Life


Tuesday, February 4, 2014

You Are Creative

I have never thought of myself as a creative or artistic person. I first realized this when I was in kindergarten.  I was coloring a picture at my desk when the teacher came by and told the little girl next to me how beautiful her coloring was. She looked at my picture, but didn't say anything about it. I looked over at the girl beside me and saw that her her picture was so much prettier than mine. Her lines were even, soft and effortless.  No matter how hard I tried to color like her - I never could. And then came Art class. The teacher would always use that little girl's projects as examples of what we should be trying to do and encourage us to create like her. No matter what I did or how hard I tried, I didn't use the right colors or my proportions were wrong.  The teacher was always coming by to "fix" what I was doing. So it was at an early age that I realized I was not an artist and thought that I was not creative.

It is sad to say but from the time we are little, we are brought up and taught to listen to someone else's idea of what is good or bad or how something should look based on their ideas and concepts.  We are taught early on about perfection and what it means to be artistic and creative by someone else.


I think Pablo Picasso had it right.

"Every child is an artist.  The problem is how to remain an artist once he grows up."

"I am always doing that which I can not do, in order that I may learn how to do it."

"If I don't have red, I use blue."

"I begin with an idea and then it becomes something else."

One of the things I love about painting, is that I am able to create and have learned that it's ok to mess up. Pick a color and if it doesn't work, try another. Try a new finish.  If you don't like it, paint over it.  In messing up I am learning what works and what doesn't.  At the end of the day, I can see what I've done and what I've accomplished.  And for the most part, I stand back and say....."yeah, I like that."   And that feels pretty darn good.

Bring out your own creativity in life.  One small step at a time.

Happy Tuesday.

Paula


Tuesday, January 21, 2014

Sweet Little Side Tables

I love little end tables with spindle legs and little curves.  I found these when a sweet girl was graduating from the College of Charleston.  She was moving on and getting rid of some very college used pieces that she didn't need any more.  Time for a makeover.
You can see all the cup marks on the table tops.  I doubt those were coffee cups. :)
I used Annie Sloan Country Grey,  a little bit of clear wax, replaced the knobs, and they look brand new.  No primer, no sanding. Just a little distressing at the end. 


I know you have some little end tables that need a makeover...right?  Go get some paint and do your own makeover.  You can have a new look tomorrow.      

Happy Tuesday.

Paula

Linking With


Wednesday, January 15, 2014

Making An Initial Sign

Monograms never really go out do they? Maybe for a little while we are less aware of them but when they come back, they always come back bigger than before. Lately, we see hats, scarves, phone cases, bags, coolers, sunglasses, boots,  sweatshirts.... all with monograms on them.  I have always loved monograms and initials in one form or another.  I also have teenage girls and they just can't seem to get enough of them.  My middle daughter has been wanting to fix her room up for awhile.  I know poor... middle child. I was a middle child too and for some reason, we seem to get overlooked.  I should know better.  But fixing her room up didn't seem that important to her and now it is.  Anyway, I decided to make her a sign to go over her bed with her initial on it.  She was a bit skeptical at first and watched as I began this simple creation.


I've had some wood for awhile and got a bit of inspiration from my new blog friend Debbie at Tweak & Style Blog as she talked about signs last week.  So you know, I am not a creative painter.  My mom is a wonderful water color artist where technique, flow and patience is a necessity.  I like dressers, sanders, drills, wood putty...get the image with my creativity here?  Painting a sign is actually very simple to do or I would not be posting about it.  I did not use a projector nor was I able to download fonts to take to Office Depot - which you can do and they will blow up a graphic to any size if you need them to.  

You will need:
1/4" 2x4 birch wood plywood - Lowes.  (I used a thin board because it is easier to hang with ribbon)
A grease pencil - you can get this at Hobby Lobby/Michaels
Clear Glaze
Paint
Sharpie - Acrylic Paint Marker
Brushes

The Graphics Fairy has great tutorials for Transferring graphics to furniture.  I read over these great tips, and used some of this information and some of my own.  I get frustrated when I don't have what I need, so I improvise - a lot.  I found a font that I liked on dafont.com.  This one is called extra ornamental.  I was unable to download any new fonts to my computer for some reason,  but I was able to print off a small picture as a jpeg.  Once I had my.jpeg I followed the tutorial from the graphics fairy and used blockposters.com to get an image that I printed onto four 8"1/2 x 11" sheets of paper.  


The purple you see is due to my graphic used and my printer.  If you have a bigger graphic, your printed piece won't look like this.  My image was very small.  I taped my pieces together and then marked off the four corners on the wood, so I knew where to place this once my tracing was done.  

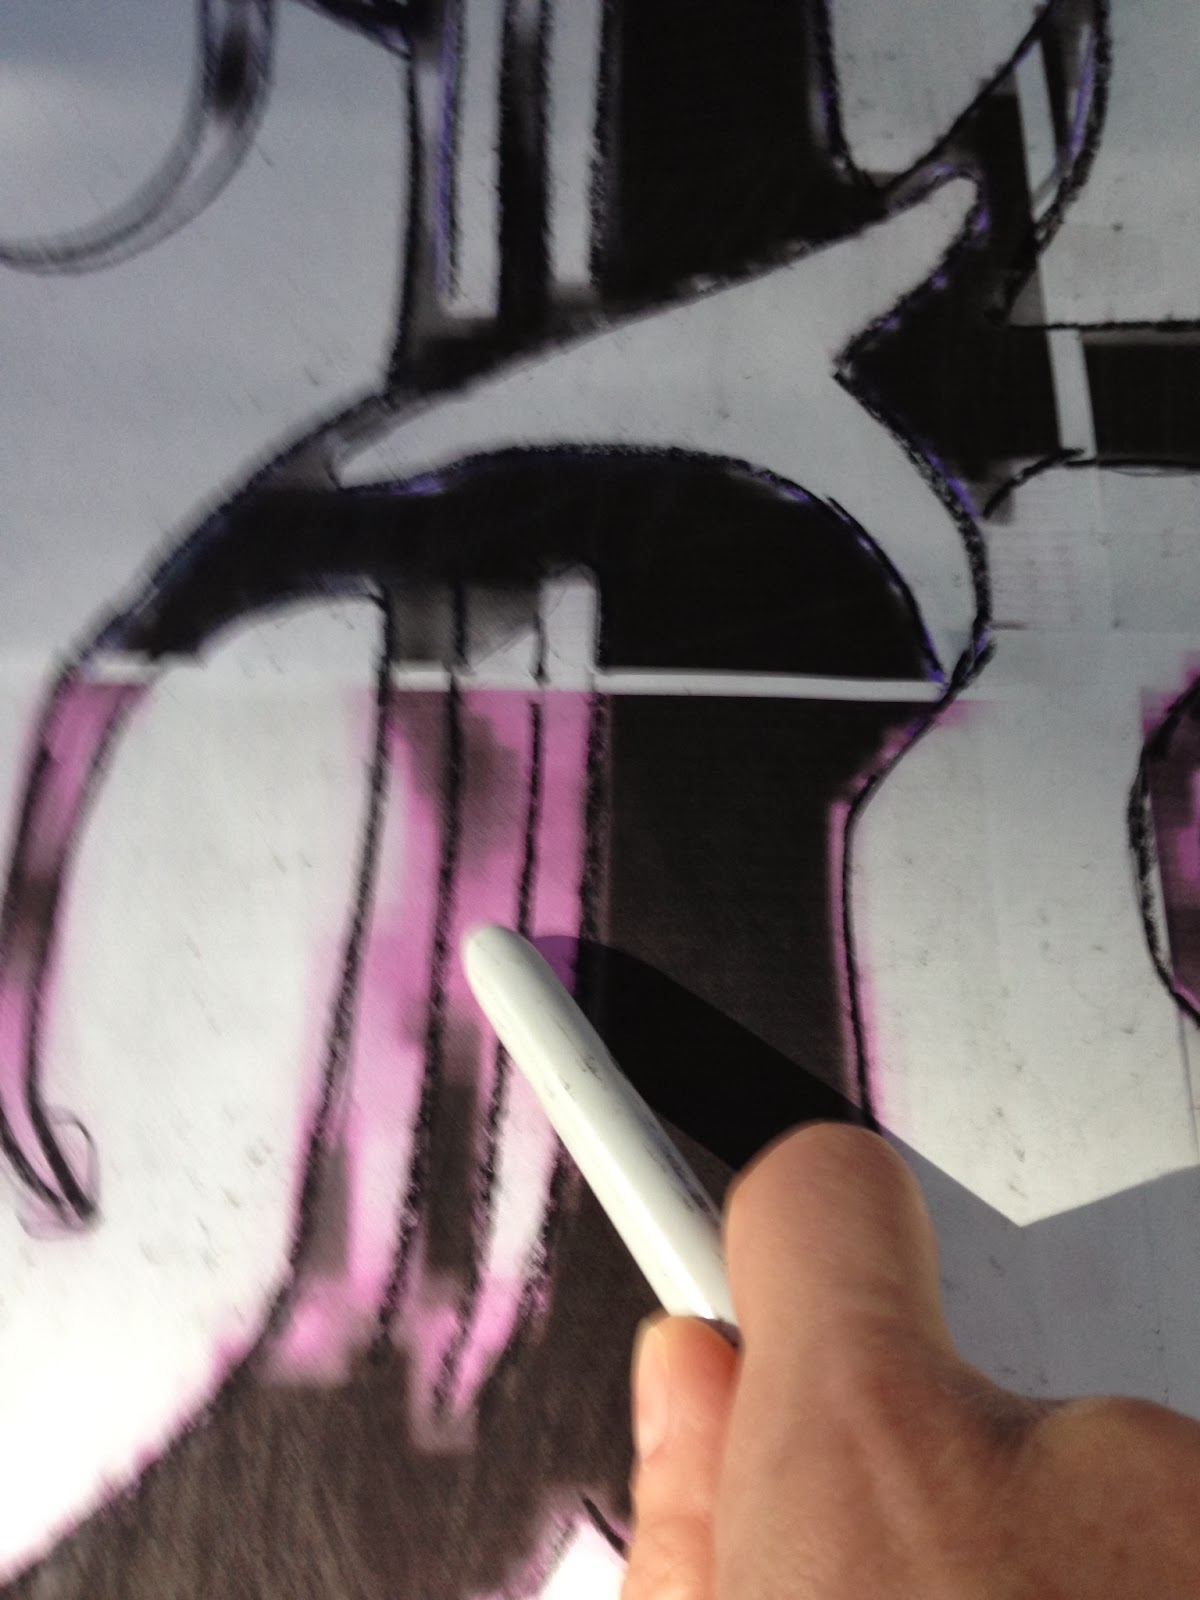
First, take a dark marker and trace your original image.  Make sure you fill in all of the edges so you will be able to see them when you turn your graphic over to trace on the wrong side.  Then turn the paper over so your good image is on the bottom.  Take your grease marker and trace your image on the reverse side.  Your grease marker needs to be dark and heavy as you trace this on the reverse side. If you used a black marker on the original side, with good lighting, you should be able to trace this when it is turned over.  


Once you have used your grease marker to trace the reverse image, turn this over so the grease image is face to face with the wood.  Line up your edges where you marked the original image to go.  With the back end of a marker, or the bottom of a round utensil end, press and re-trace your image, so the grease marker on the back transfers to your wood.  


Now you have your image transferred.  I know some of you might be thinking....she forgot to paint her board first.  Technically, if you are good at transfers, you should paint your first coat and background color first.  But, I didn't know if the transfer method would work, and I wanted to make sure my drawing (and erasing) didn't show up on my good paint.  So I used a black acrylic sharpie marker to draw my stencil on my unpainted wood.  


Then I painted my board the color I wanted it to be. I knew from experience that using chalk paint with a little bit of water, would allow my image to bleed through.  And it did! 


Now I have my background in Old White and needed to paint and fill in my stencil.  I first used my acrylic sharpie to get the edges of my stencil drawn, then I used regular old black acrylic paint from Hobby Lobby to fill in the rest.


Now comes the fun part!  I wanted to paint the sign and make it look old.  


I took clear glaze, about 2 tsp and 2 tsp of black acrylic paint and mixed them together.  Using a wet rag, I dipped it into the black glaze and wiped the glaze down in straight motions.  When this dried, I did the same combination of glaze and Annie Sloan Old White, and pulled this down as well.  I needed the  Old White paint to bring age to the black paint on the initial and on the board.   

When this dried, I took 220 grit sandpaper and a sanding block and distressed the board in up and down motions.  This makes the paint look worn.  


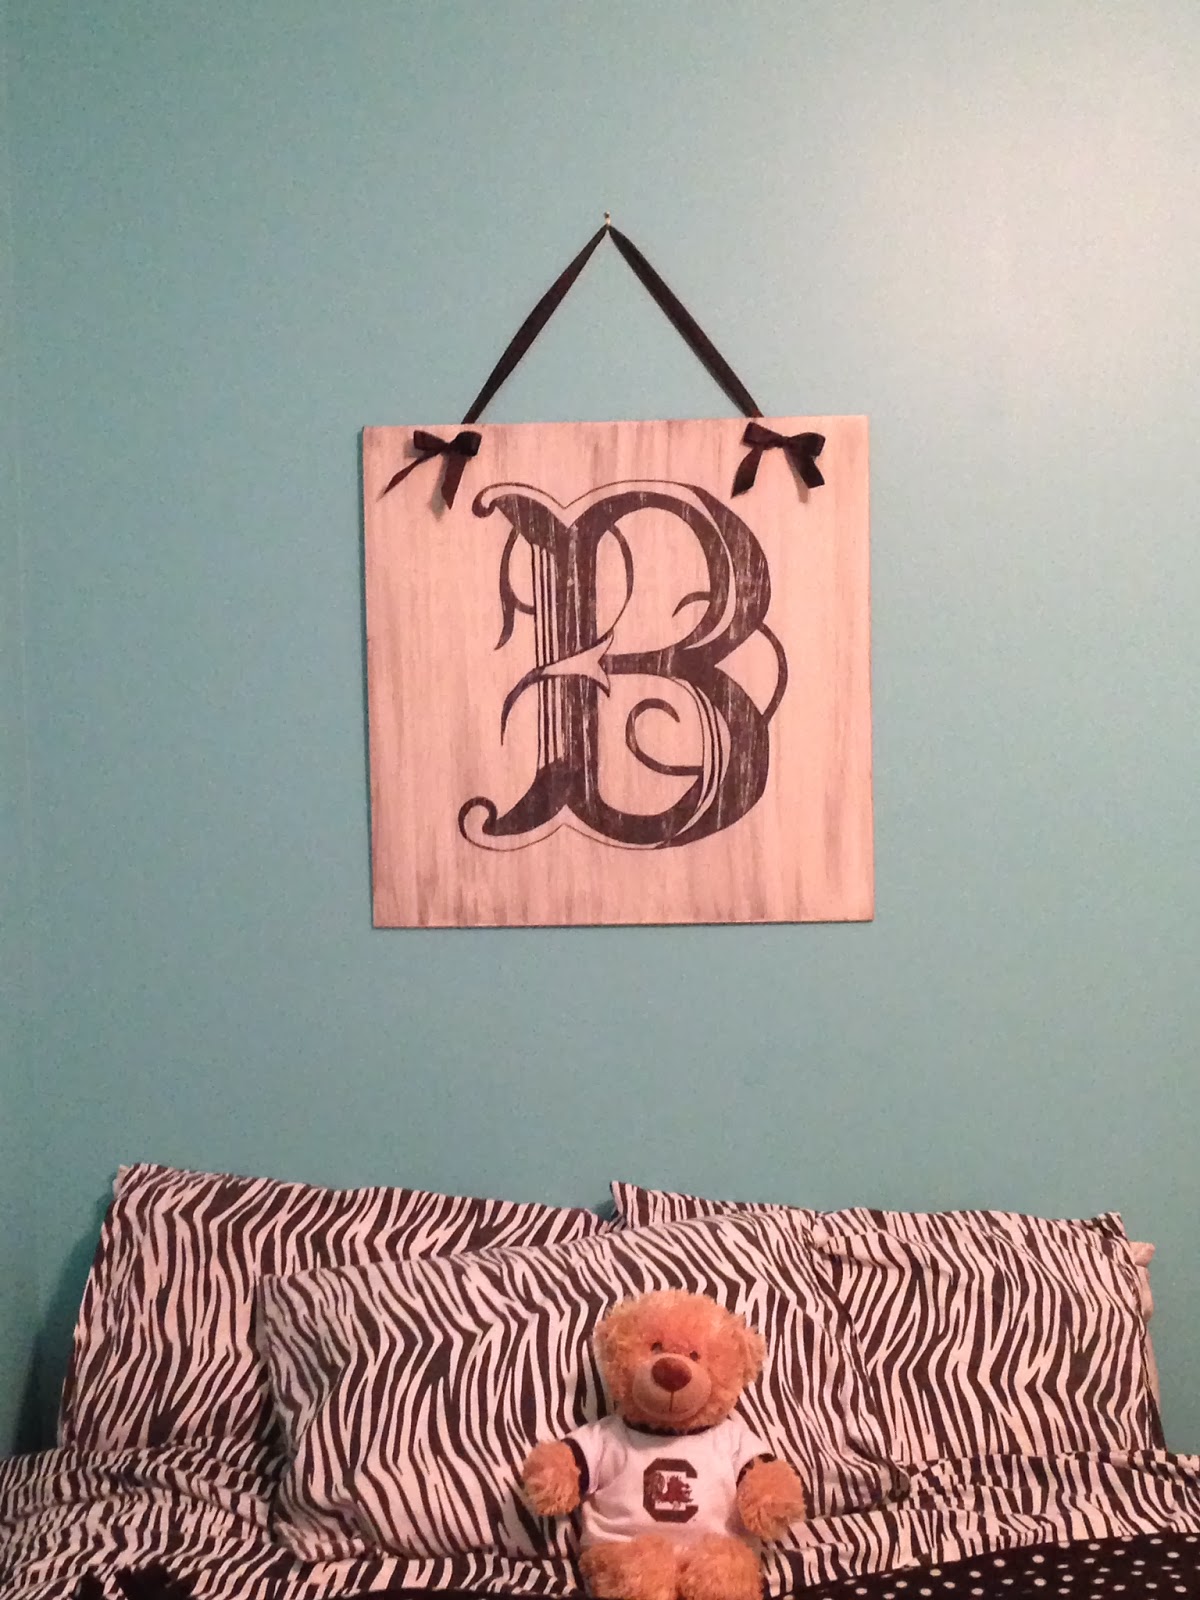
I drilled two holes in the top and tied it with ribbon.  I still need to wax and seal this but wanted you to see how it looked.  


My oldest daughter saw this and now she wants one for her room.  This picture makes it look a bit pink, but it's the light of the room.  Although I miss my furniture.  I'm waiting for the weather to cooperate a bit more here in Charleston.  It has been rainy and humid.  Not the best for refinishing furniture in the garage.  

You don't need all the fancy projectors and things to get an image on the board.  Just a little ingenuity.

Have fun!  Let me know if you have questions.