

I've had some wood for awhile and got a bit of inspiration from my new blog friend Debbie at Tweak & Style Blog as she talked about signs last week. So you know, I am not a creative painter. My mom is a wonderful water color artist where technique, flow and patience is a necessity. I like dressers, sanders, drills, wood putty...get the image with my creativity here? Painting a sign is actually very simple to do or I would not be posting about it. I did not use a projector nor was I able to download fonts to take to Office Depot - which you can do and they will blow up a graphic to any size if you need them to.
You will need:
1/4" 2x4 birch wood plywood - Lowes. (I used a thin board because it is easier to hang with ribbon)
A grease pencil - you can get this at Hobby Lobby/Michaels
Clear Glaze
Paint
Sharpie - Acrylic Paint Marker
Brushes
The Graphics Fairy has great tutorials for Transferring graphics to furniture. I read over these great tips, and used some of this information and some of my own. I get frustrated when I don't have what I need, so I improvise - a lot. I found a font that I liked on dafont.com. This one is called extra ornamental. I was unable to download any new fonts to my computer for some reason, but I was able to print off a small picture as a jpeg. Once I had my.jpeg I followed the tutorial from the graphics fairy and used blockposters.com to get an image that I printed onto four 8"1/2 x 11" sheets of paper.

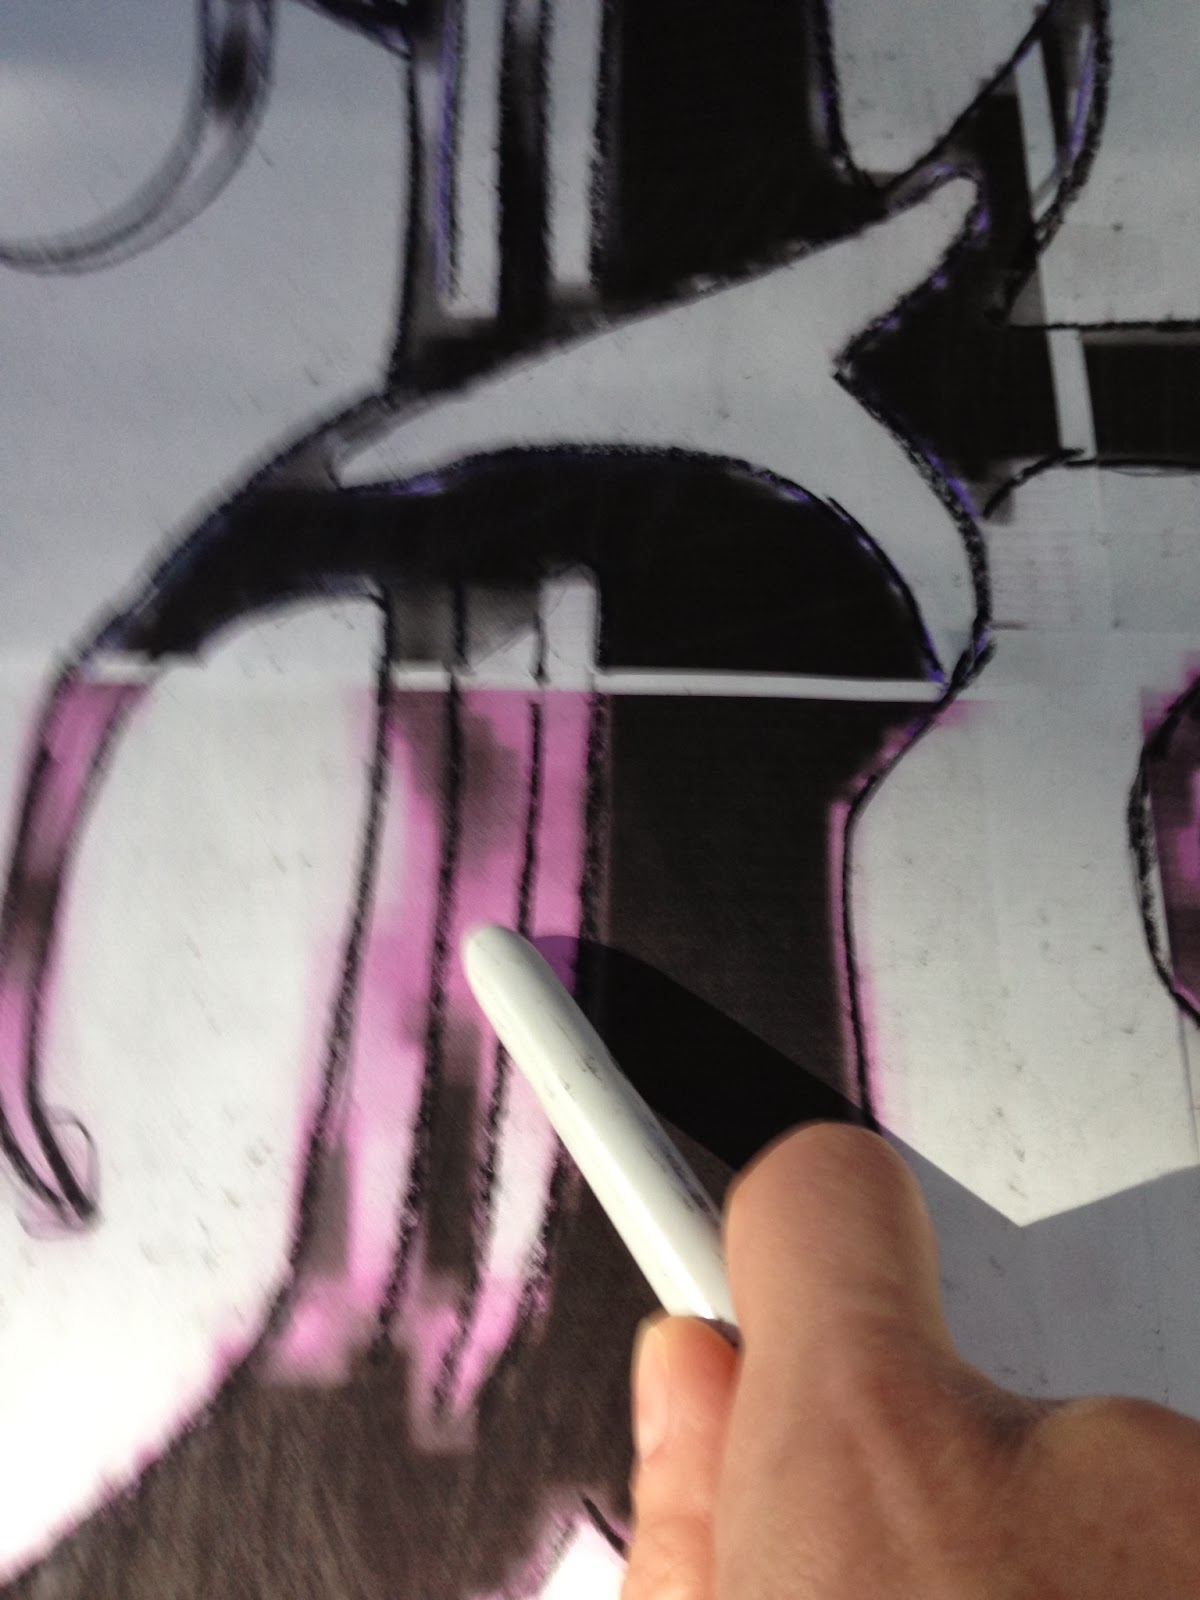
The purple you see is due to my graphic used and my printer. If you have a bigger graphic, your printed piece won't look like this. My image was very small. I taped my pieces together and then marked off the four corners on the wood, so I knew where to place this once my tracing was done.
First, take a dark marker and trace your original image. Make sure you fill in all of the edges so you will be able to see them when you turn your graphic over to trace on the wrong side. Then turn the paper over so your good image is on the bottom. Take your grease marker and trace your image on the reverse side. Your grease marker needs to be dark and heavy as you trace this on the reverse side. If you used a black marker on the original side, with good lighting, you should be able to trace this when it is turned over.

Once you have used your grease marker to trace the reverse image, turn this over so the grease image is face to face with the wood. Line up your edges where you marked the original image to go. With the back end of a marker, or the bottom of a round utensil end, press and re-trace your image, so the grease marker on the back transfers to your wood.

Now you have your image transferred. I know some of you might be thinking....she forgot to paint her board first. Technically, if you are good at transfers, you should paint your first coat and background color first. But, I didn't know if the transfer method would work, and I wanted to make sure my drawing (and erasing) didn't show up on my good paint. So I used a black acrylic sharpie marker to draw my stencil on my unpainted wood.

Then I painted my board the color I wanted it to be. I knew from experience that using chalk paint with a little bit of water, would allow my image to bleed through. And it did!

Now I have my background in Old White and needed to paint and fill in my stencil. I first used my acrylic sharpie to get the edges of my stencil drawn, then I used regular old black acrylic paint from Hobby Lobby to fill in the rest.

Now comes the fun part! I wanted to paint the sign and make it look old.

I took clear glaze, about 2 tsp and 2 tsp of black acrylic paint and mixed them together. Using a wet rag, I dipped it into the black glaze and wiped the glaze down in straight motions. When this dried, I did the same combination of glaze and Annie Sloan Old White, and pulled this down as well. I needed the Old White paint to bring age to the black paint on the initial and on the board.
When this dried, I took 220 grit sandpaper and a sanding block and distressed the board in up and down motions. This makes the paint look worn.

I drilled two holes in the top and tied it with ribbon. I still need to wax and seal this but wanted you to see how it looked.

My oldest daughter saw this and now she wants one for her room. This picture makes it look a bit pink, but it's the light of the room. Although I miss my furniture. I'm waiting for the weather to cooperate a bit more here in Charleston. It has been rainy and humid. Not the best for refinishing furniture in the garage.
You don't need all the fancy projectors and things to get an image on the board. Just a little ingenuity.
Have fun! Let me know if you have questions.
Have fun! Let me know if you have questions.
No comments:
Post a Comment