Monday, May 5, 2014

The French Dresser

I showed this piece in different steps last week but in lieu of the weekend craziness (two or ours were attending Prom), I just want to show you the before and after in one shot. 


It is amazing what you can do with a little paint.  This very old green dresser turned into a beautiful little french dresser or sideboard that can be used in a bedroom, living or dining room.  

So don't throw away any of your old pieces...transform them.  With just a little paint, you can have a brand new piece and as I've said before - it is super easy!  Read any of my previous posts for more information on how this all came together.  I almost threw this out.  :)

Have a great Monday.

Friday, May 2, 2014

Inspiration - Where Does It Come From? .... French Dresser Part 3

The week started off with someone asking me where I got the inspiration for pieces that I do.  If you want to start from the beginning you can see Part I where I find my original source of inspiration and begin to make it happen and then Part 2 where I distress and use clear wax.

Today, I am showing you the piece with dark wax and new knobs added.
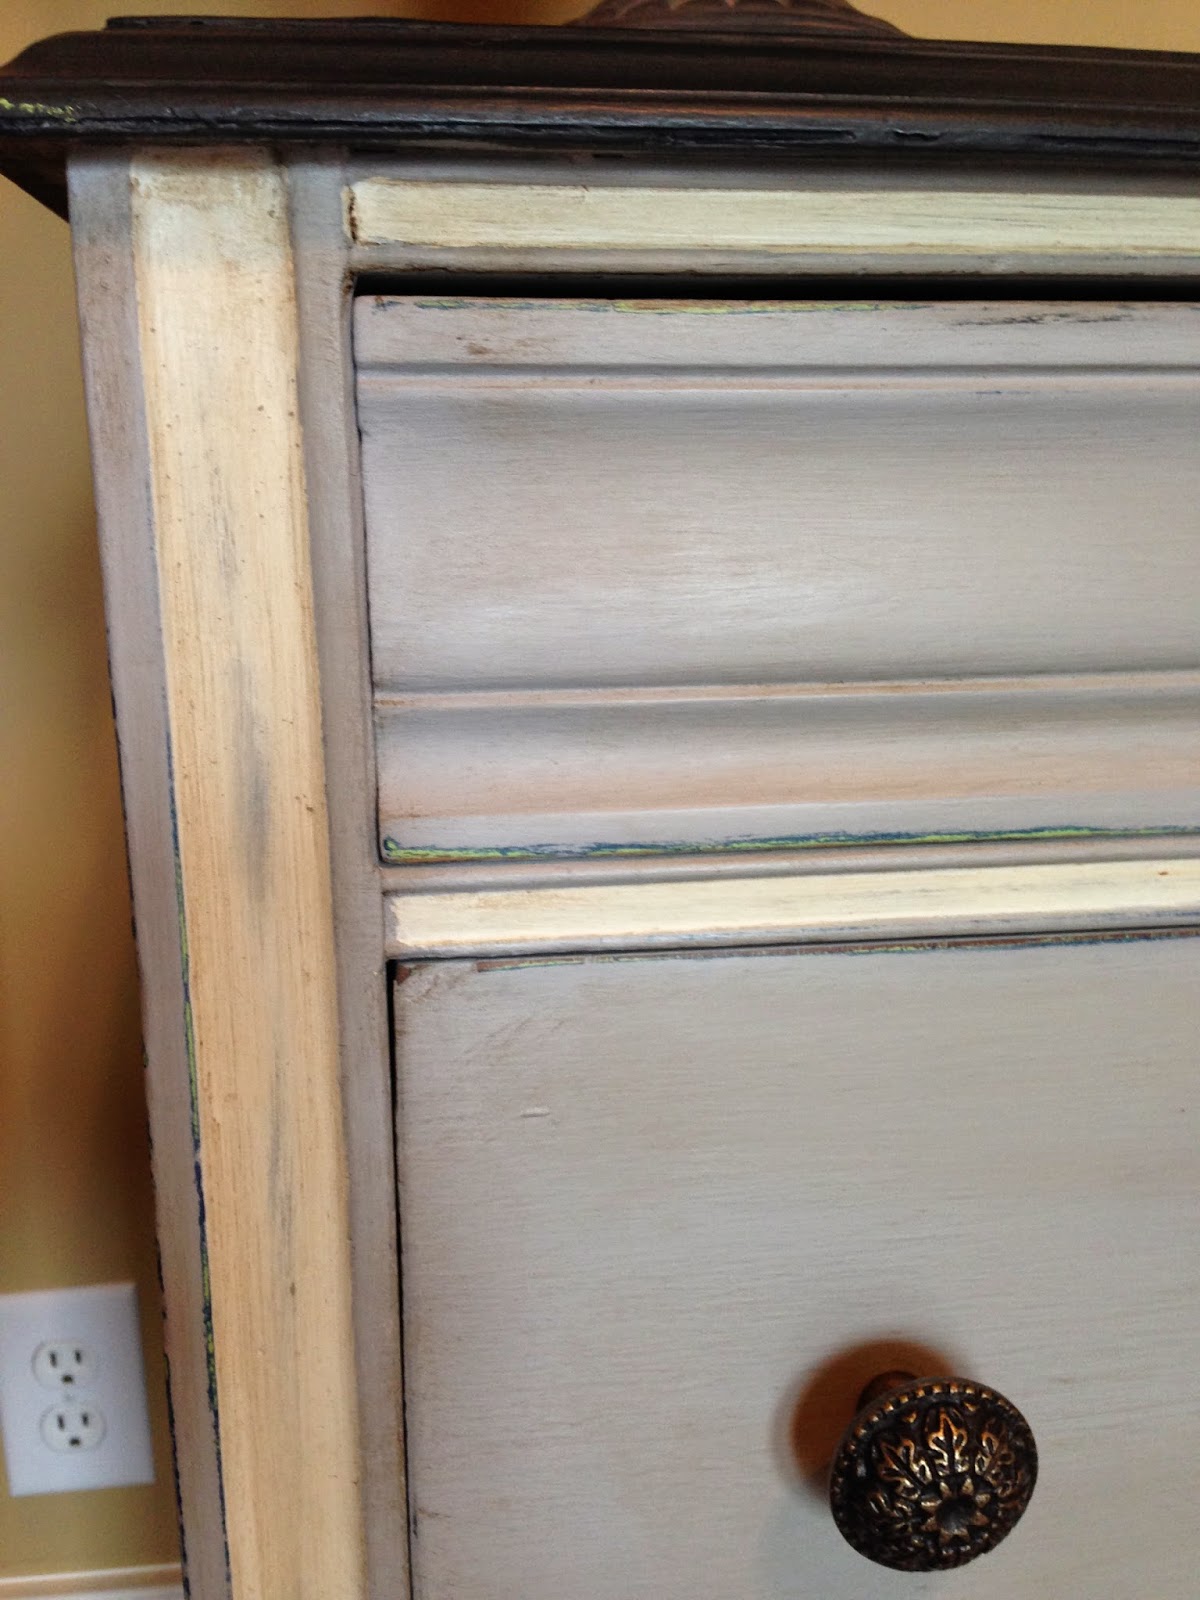
When I use dark wax, I use is sparingly. I don't use it all over the piece, mostly where I have sanded and distressed the piece.  I also use a little bit across the large spaces, followed quickly with a fine piece of steel wool.

Remember, this was my inspiration above......
And this is pretty much how it all comes together.  Sometimes where I end up is not what I had in mind.  This one is pretty close.

Let me know if you have any questions.  

I hope you have a great weekend.  

Paula

Thursday, May 1, 2014

Inspiration - Where Does It Come From?....French Dresser Part 2

So yesterday we were talking about where to find the inspiration for pieces and projects.  I found my inspiration for the piece I'm working on in a book. You can read yesterday's post Part 1 to start at the beginning.
 This is my inspiration above ......
Yesterday, we painted the piece in the right colors and now we are ready to distress and wax.
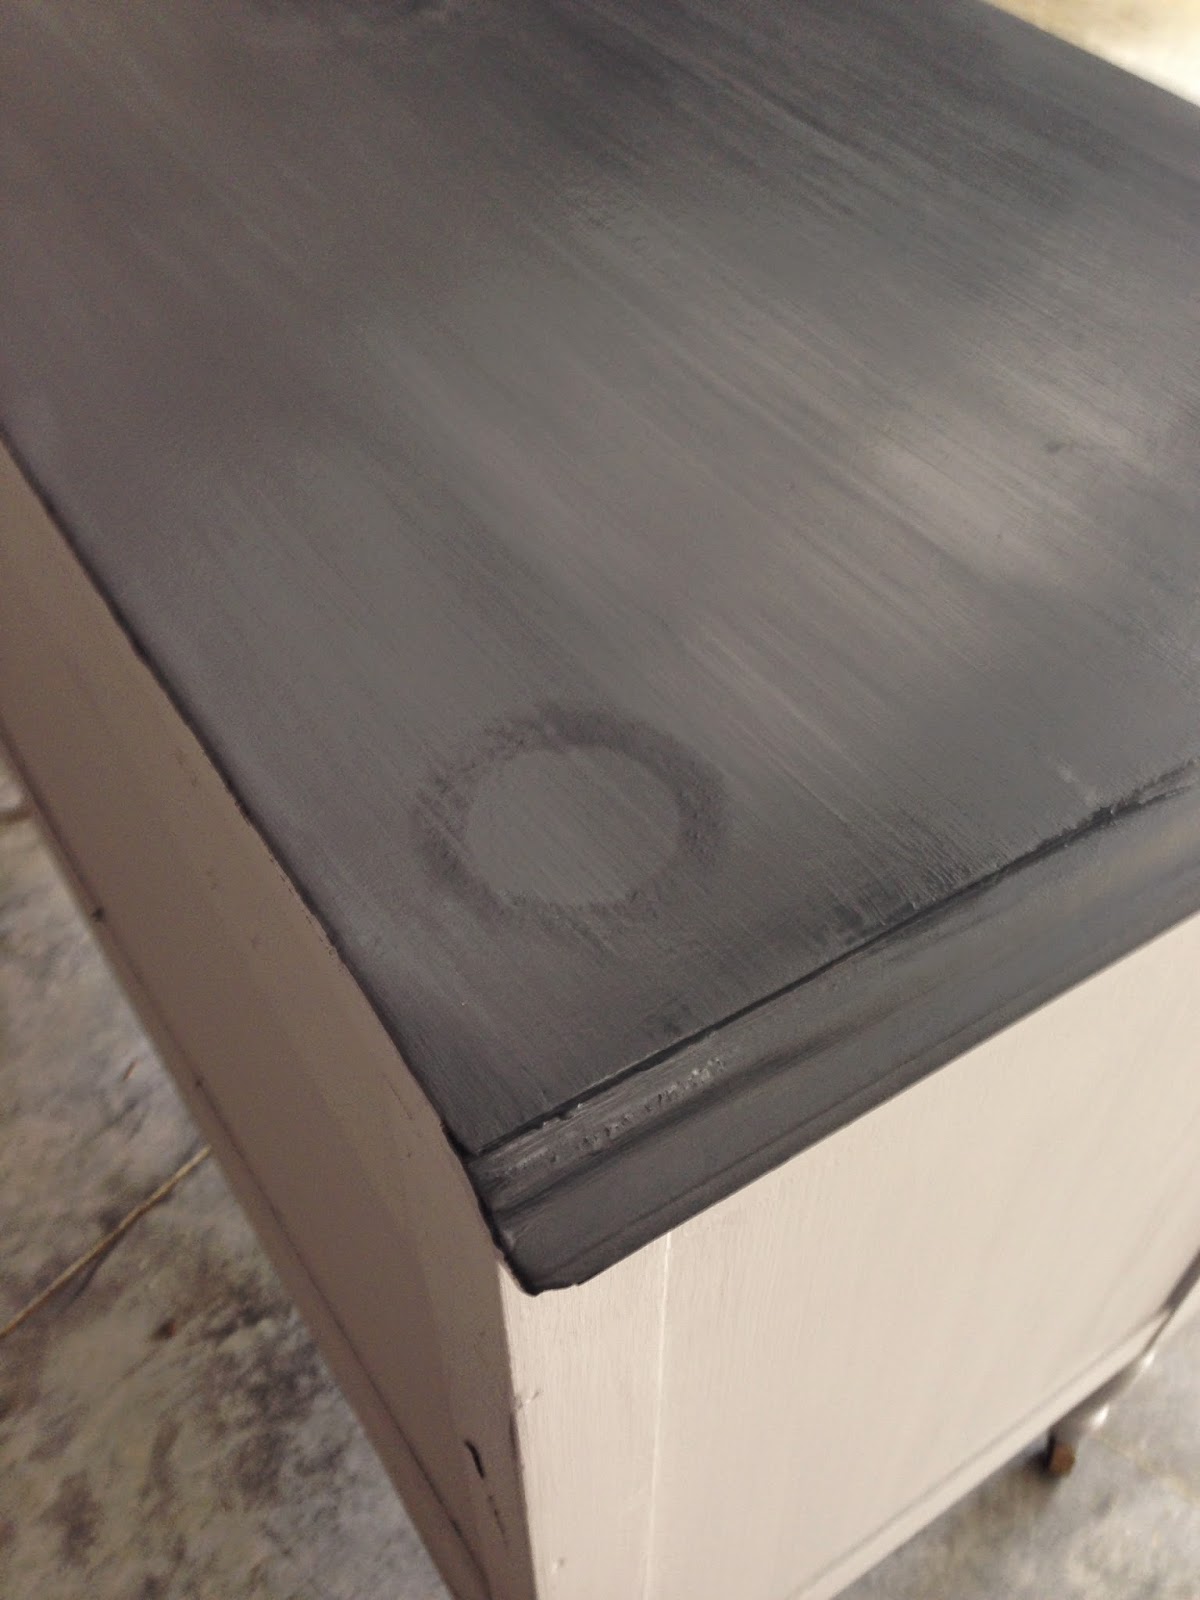
Sometimes after you paint, water marks bleed through and you see places that need wood putty or sanding that you didn't see before.  That's ok.  Get out your shellac, give it a good spray and let it dry.  Use wood putty to fill in any holes and sand where the wood needs a little attention.  You will need to paint over these areas. Yeah, a little bummer, but have patience. :)
I distressed the decoration in the center....trying to be careful not to let too much of that green come through.
 Distressed the edges....oh boy, that green is loud but I know the dark wax will minimize that.
 And then began using the clear wax.  See the difference that the wax makes on the wood.

 The clear wax is on and we are ready for the next step - applying dark wax.  Come back tomorrow so you can see how she ends up.

Let me know if you have questions.

Thanks.

Paula