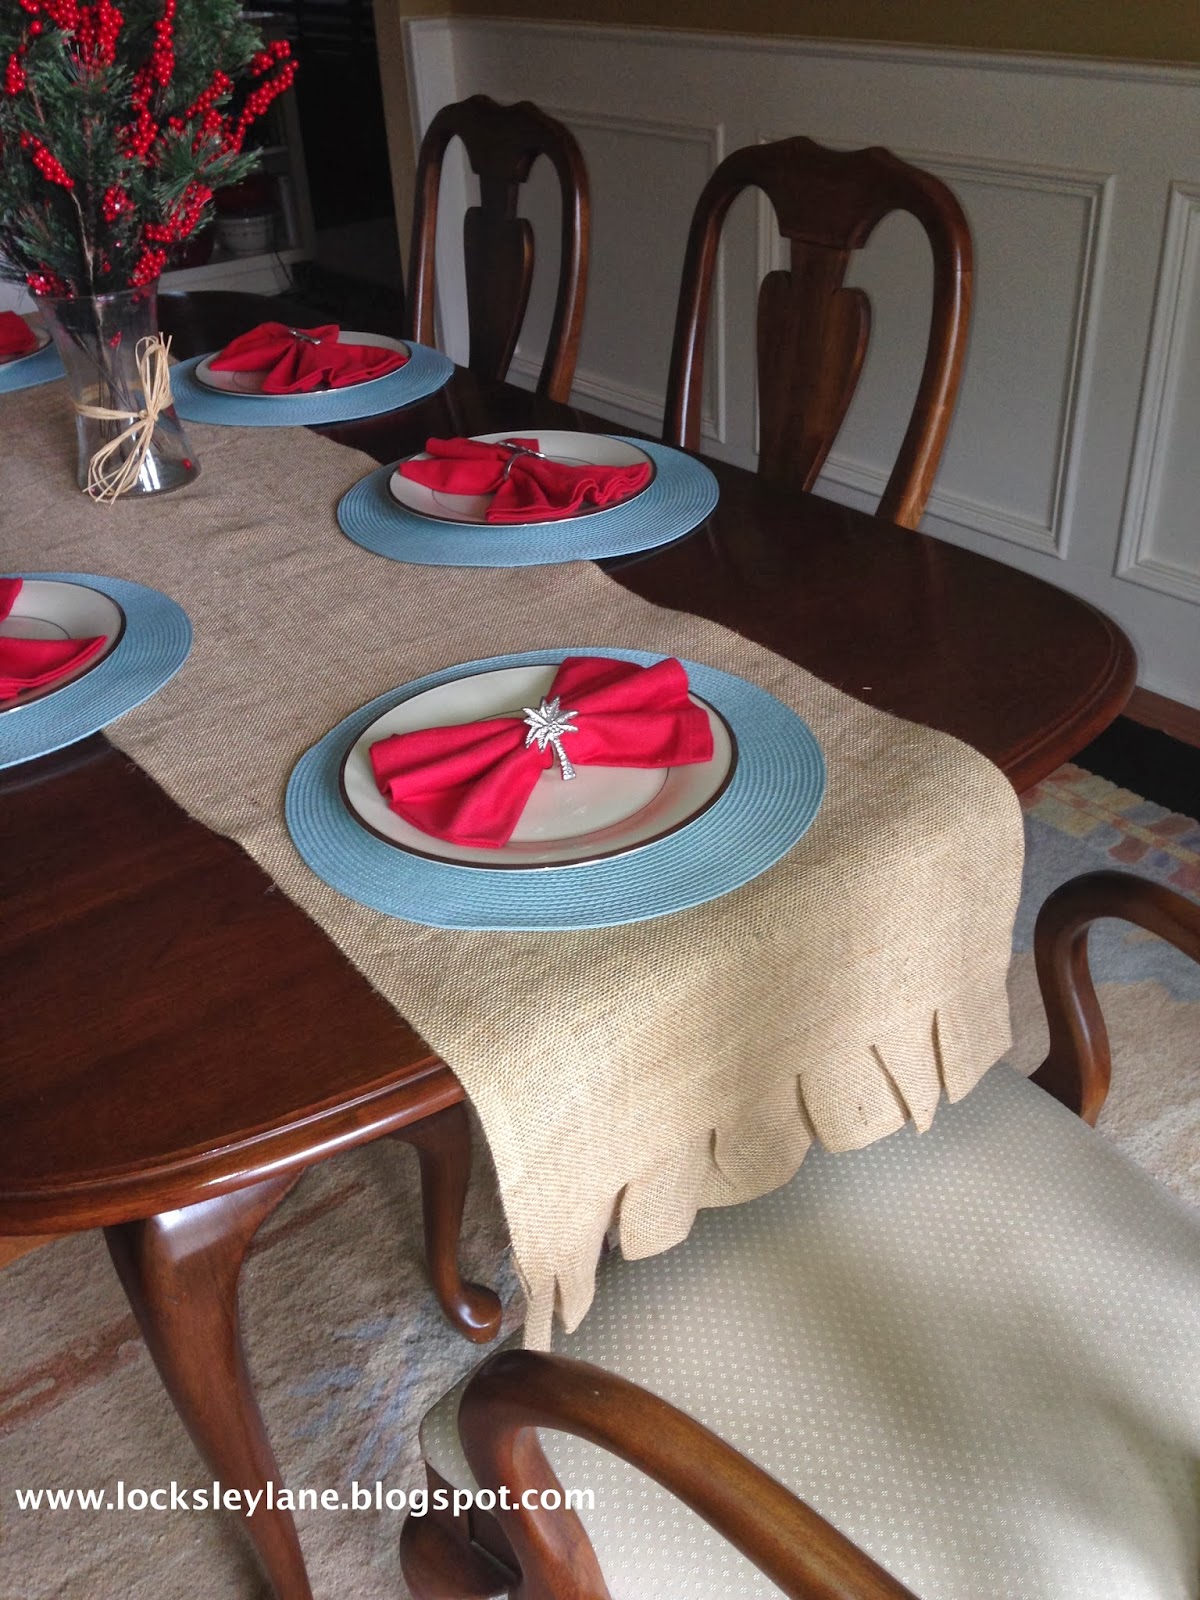
I made a couple of burlap table runners for friends over the holidays and they asked me to tell them how I did it. Trust me, this is easy and so you know, I do not sew.....at all. Burlap is super cheap, so if you think you are going to mess it up (you won't) it's not like it is a big investment. But, be forewarned, it does shed and it does smell - at first. :) You can buy burlap at almost all fabric stores and Hobby Lobby.
Measure the length of the table the runner will be on. Add 14 inches to this length so that each end has a 7 inch over hang. If your table top measures 74", you want the runner to be 88". Now, to be safe, add an additional 10 inches to the total length you buy from the store so you have an extra 5 inches on each end to play with once the burlap is washed. It will fray and you will want to cut the ends to make them even. If you want to have the runner hang longer on each end, then adjust accordingly.
The burlap will be stiff and shedding from the store. A lot. Washing will help this. Wash the burlap on "GENTLE" or "DELICATE" with a little bit of detergent. If you don't use a gentle cycle, you are going to have a mess when you take your burlap out of the washer. One friend said it helps to roll over a little bit of fabric on each end and use a few safety pins so the ends don't fray too much. I didn't have to do that - but you can try it and see if that helps.
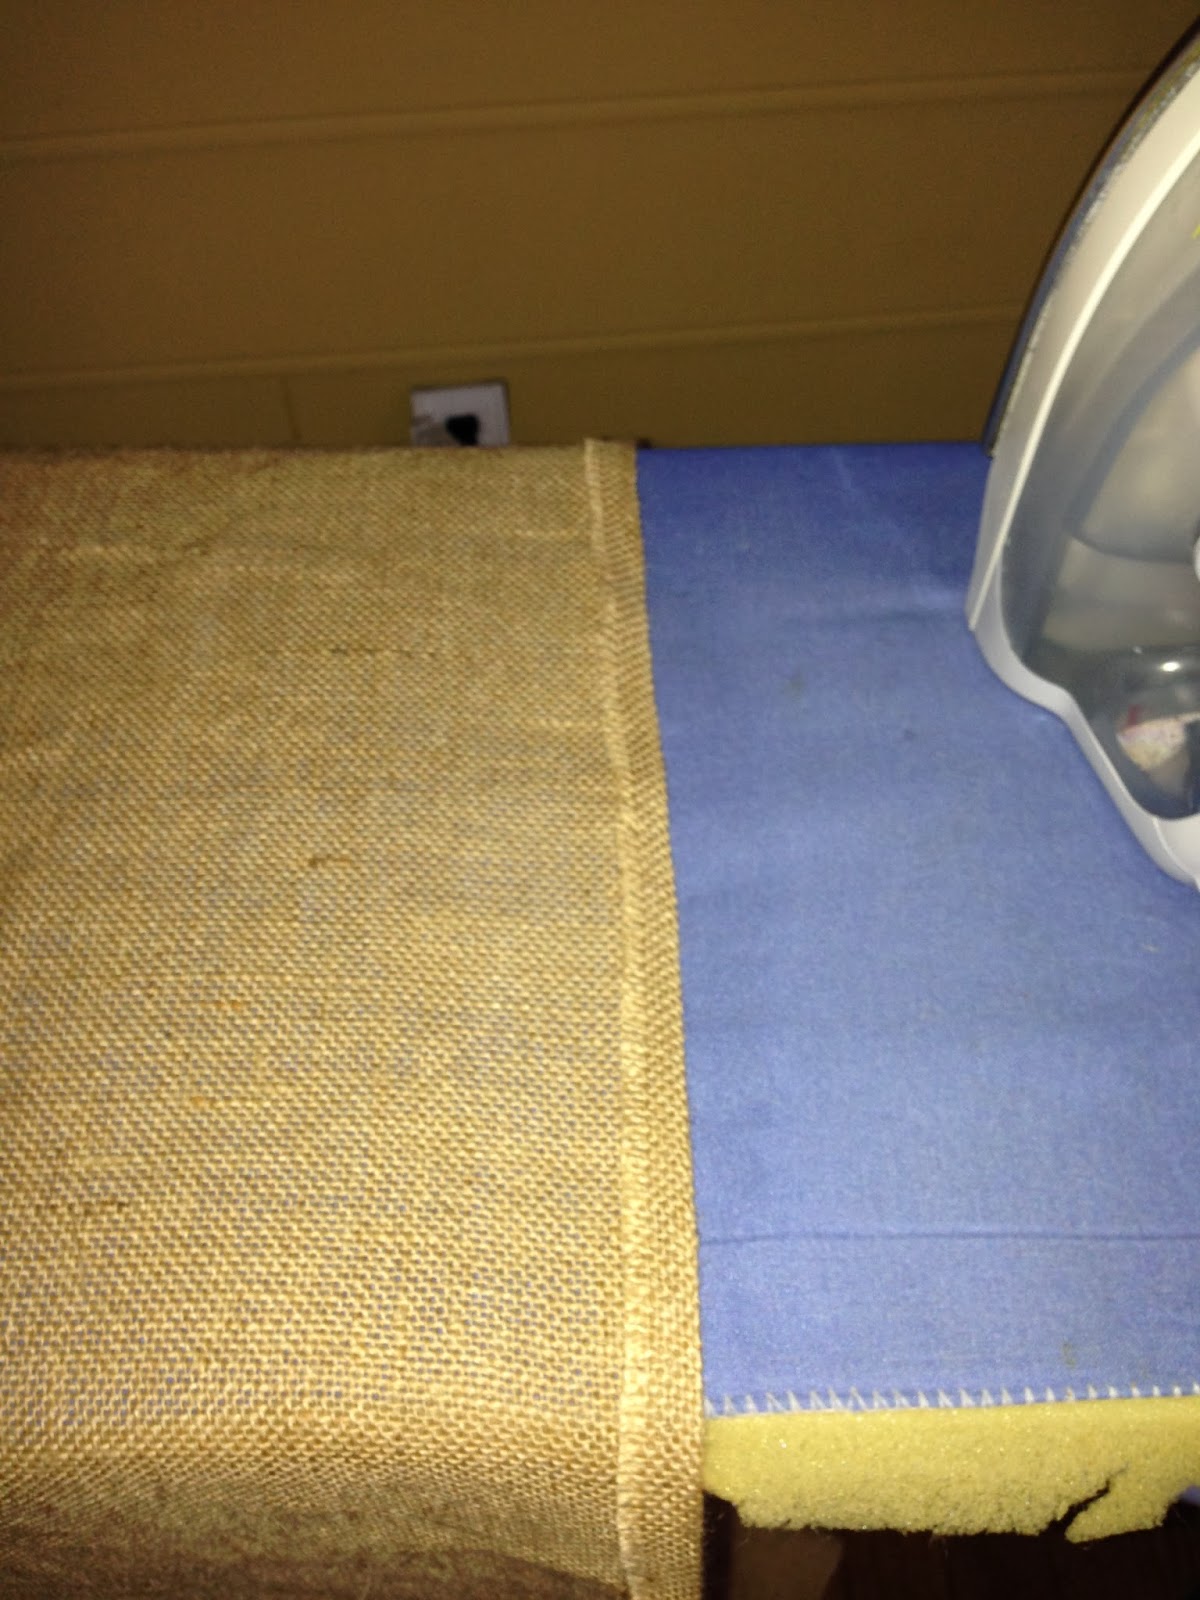
You can see how wrinkled the burlap will be. This is right out of the dryer and I didn't roll or pin my edges when I washed it. Let it dry and shake it out - outside. Keep shaking as much as you can and then shake some more. Then use an iron on high steam to get the wrinkles out. I ironed this on my porch so the burlap didn't get everywhere. This is the burlap from a regular bolt of fabric. I made two runners with this and had plenty of extra for a few other projects.
The width of a table runner really depends on how big your table is. Most runners are 18 inches in total width. I've seen them wider and they are just as pretty. So go with 18 or go bigger - your call.

After you wash your burlap take into account how frayed your edges are. Measure out 19 inches of good fabric that will be your center runner (you are going to fold over and iron a 1/2 inch on each end). Before you do this, take a thread of burlap near each end and pull it, just like I have done above. Pull this through for the entire length. Do this on each end so all of your threads line up. Don't just cut with scissors to get what you think is a straight line. Pull the thread. It might break as you do this but get a bobby pin or something to find the broken end in the fabric and pull it through again until the entire piece of thread is out. Then cut down the line where the thread is missing.
Do this on each end so you have a total of 19 inches in width. Or, more if your width is going to be greater than 18 inches.
Buy some Heat n Bond. You can get this at Hobby Lobby or any fabric store. Iron over a half inch on each side of your runner.
Roll out the bond the entire length of your runner and steam the bond to the fabric. Make sure the iron is hot and the bond seals both sides.
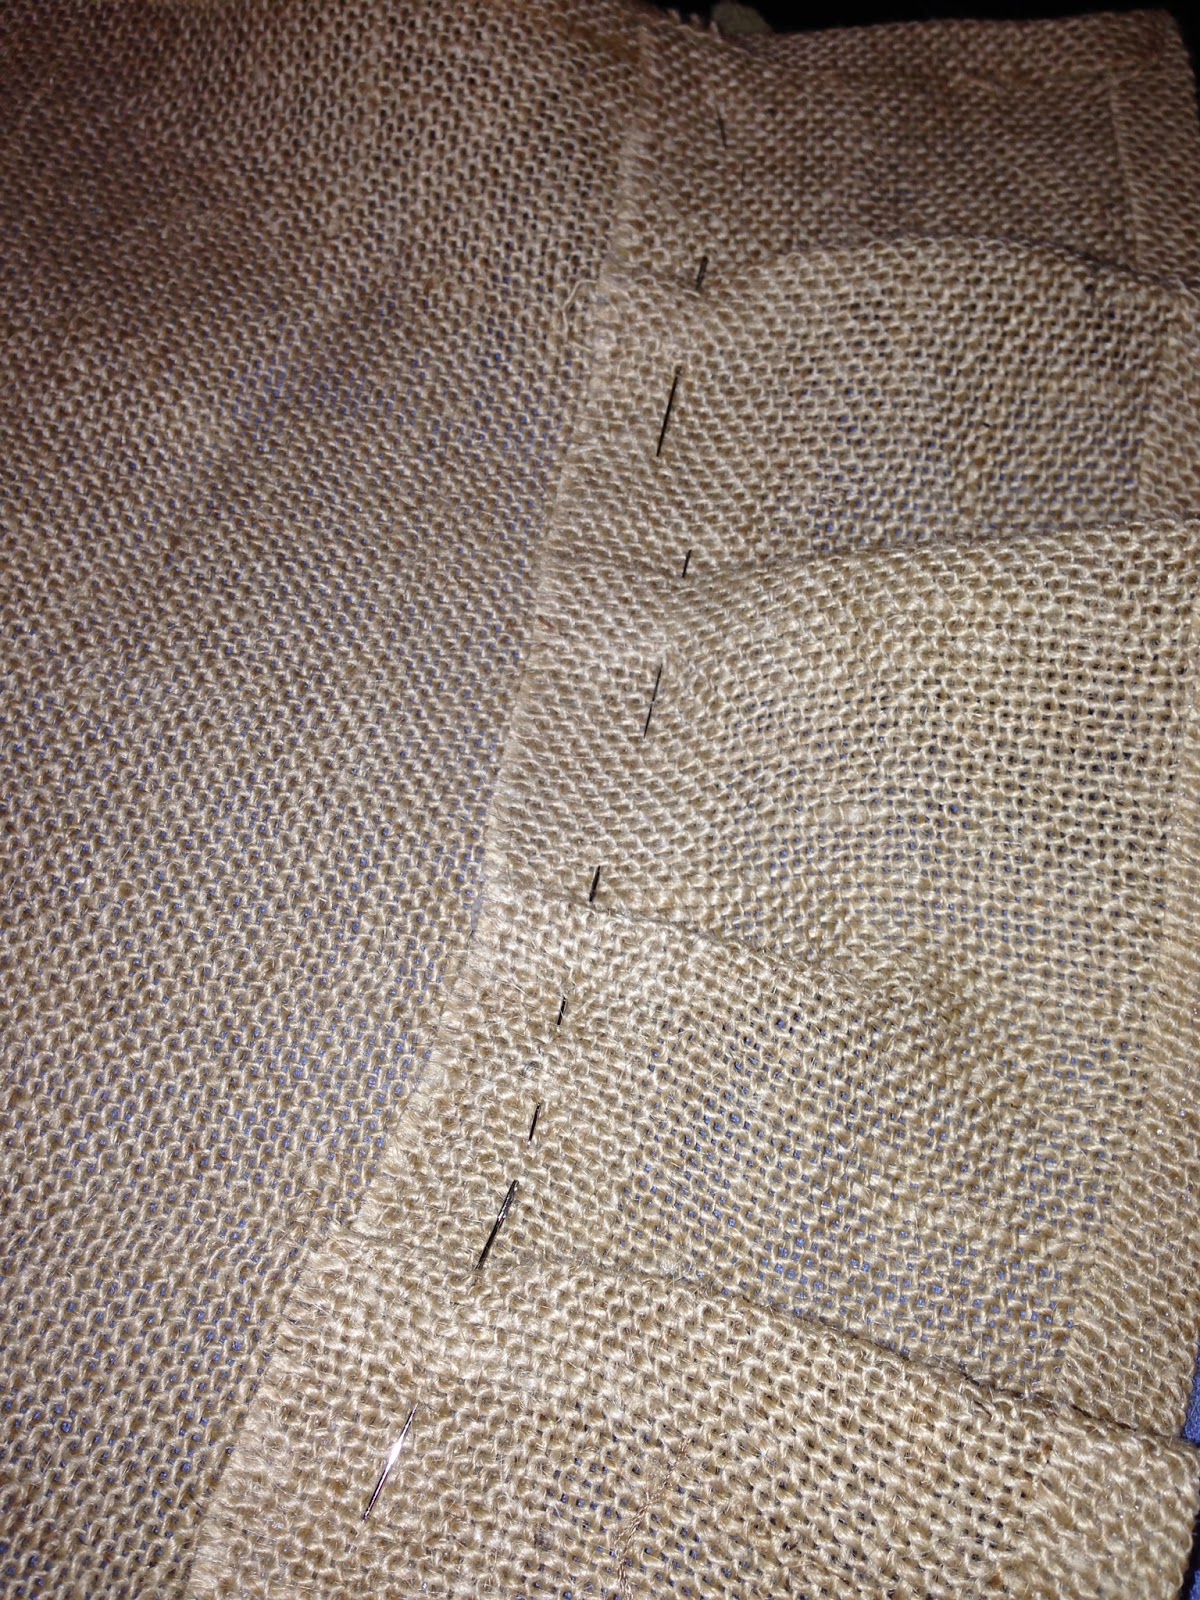
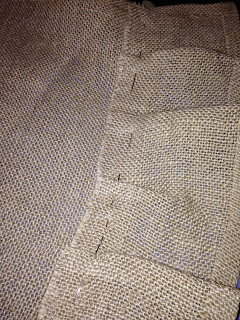
Now, I did get a little adventurous and added a ruffle (hehe). You don't have to do this. You can leave the end alone and fray some of the edges, or seal a ribbon on the bottom of each end. If you want a ruffle, measure out 36 inches in length (double your width) and make it 6 inches in length. You should have plenty left over from the bolt width. Fold over the bottom and each end and seal with bond. Then gather and pin so the ruffles are even across the width of each end. I used the bond at the top right above the pins and then I did take a needle and thread and sewed the top of each pleat head to the runner (I didn't sew all the way across the top. You can....but remember, I don't sew).
You can even use the bond to add some ribbon and a letter if you want. The picture below was my first ruffle. You can see I didn't make the width long enough to have more ruffles and it wasn't as wide as I would have liked. Live and learn. Better to make it long and wide enough at first and then you can cut the ends if they are too long. I could have left the ruffle off and just sealed it with the ribbon too.
Burlap can be used all year long. Go ahead and try this and let me know how your runner turns out.